
Chocolate Hazelnut Protein Cups
 By Better Plate Recipes
Have a recipe from another site? Import it →
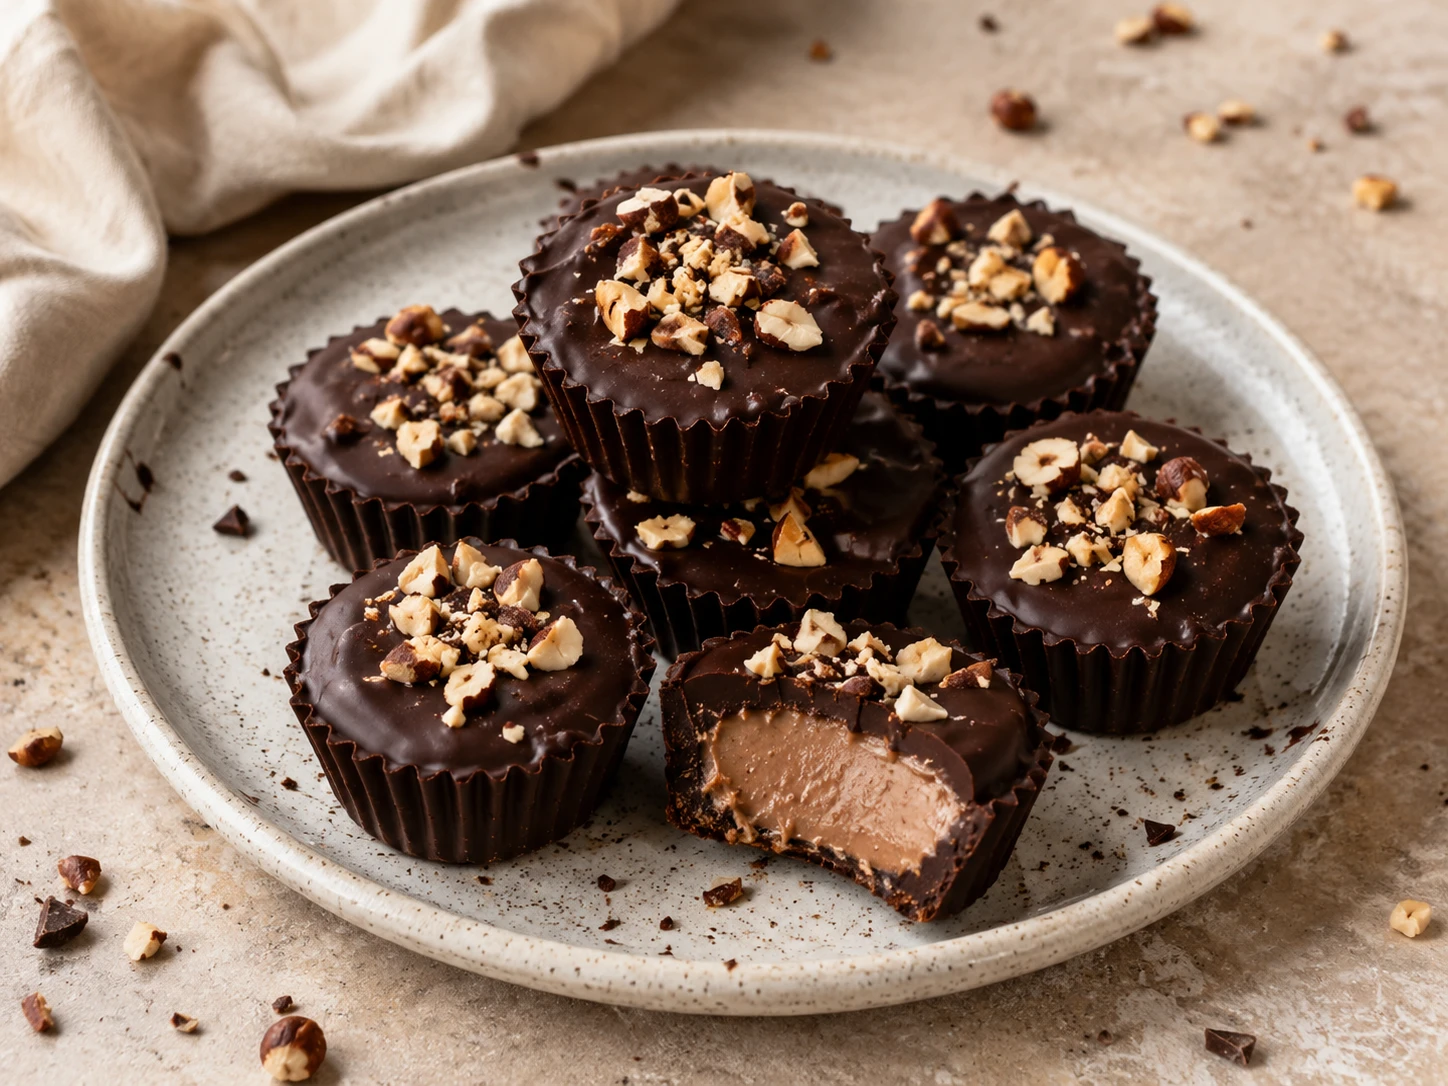
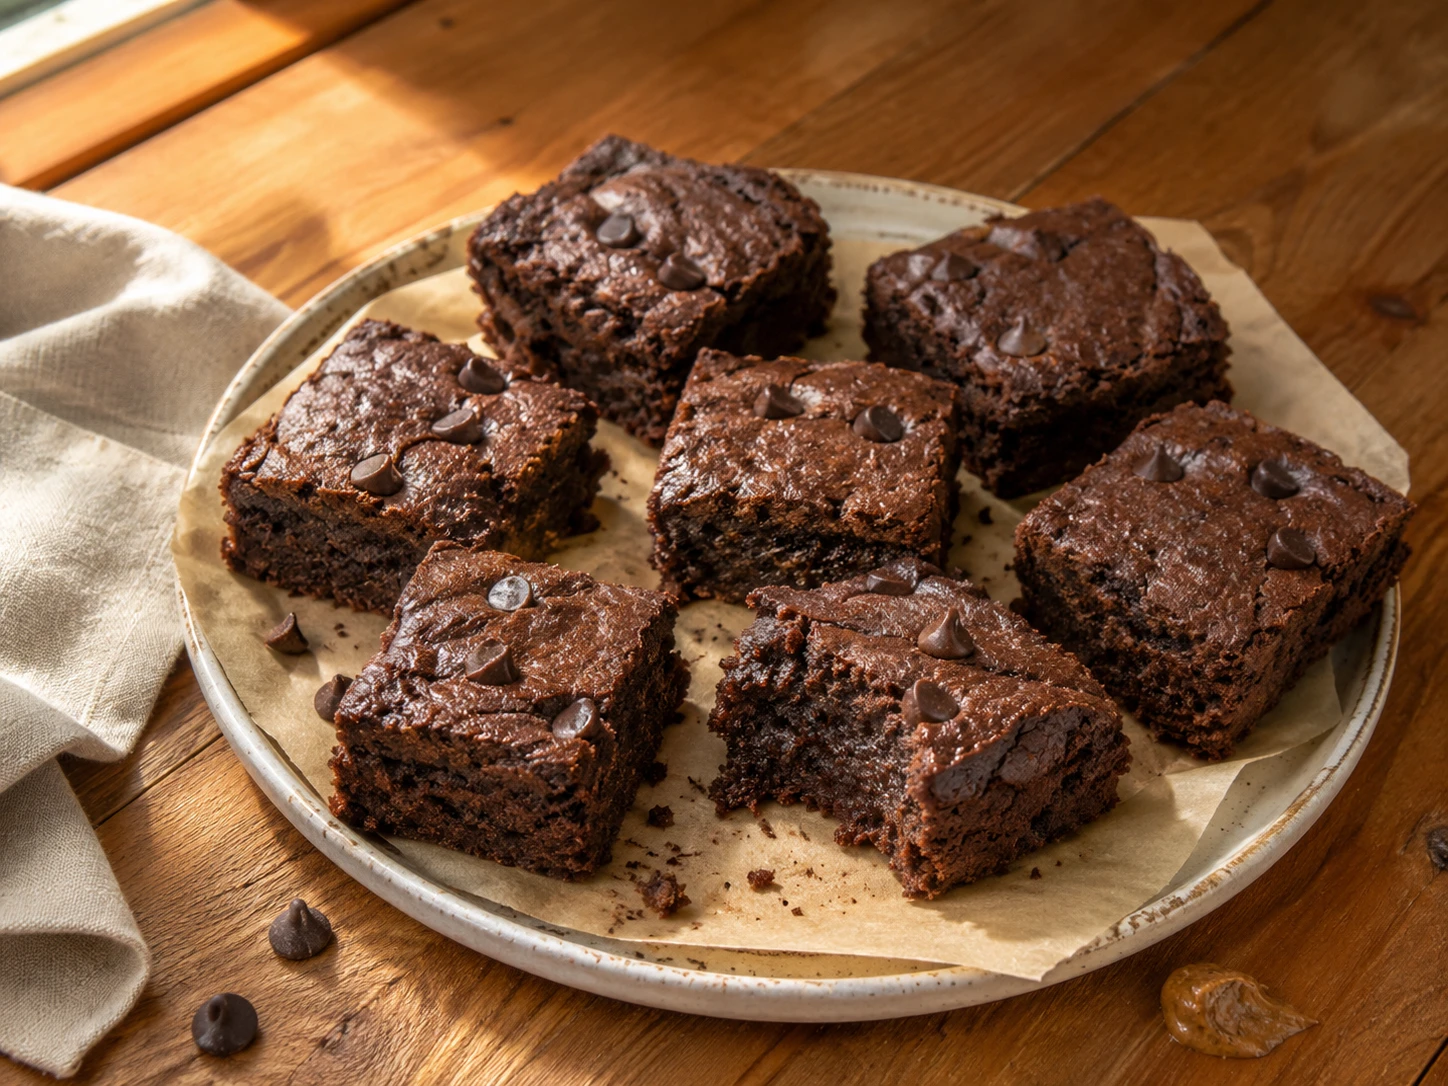
If you love Nutella, these are your soulmate. A creamy chocolate-hazelnut filling tucked inside a dark chocolate shell, with a protein boost hiding inside. They're rich, satisfying, and feel like a real candy treat without leaving you in a sugar coma. Keep them cold always.
Why You’ll Love This Recipe
Chocolate Hazelnut Protein Cups gives you the fun of dessert with a little more balance built in. The flavor comes from dark chocolate, coconut oil, hazelnut butter, protein powder, maple syrup, and chopped hazelnuts, so it tastes specific and satisfying instead of like a watered-down substitute. The texture is snappy on the outside with a creamy nut-butter middle, which is what makes each bite feel like a real treat. This is a chilled dessert, so the hands-on work is quick but the resting time matters because it lets the mixture firm up and the flavors settle. I also like that it is portion-friendly without feeling fussy; you can make it for a quiet night, share it with family, or tuck leftovers away for later. It is sweet enough to feel joyful, but still made with everyday ingredients you can recognize.
Texture and Flavor Notes
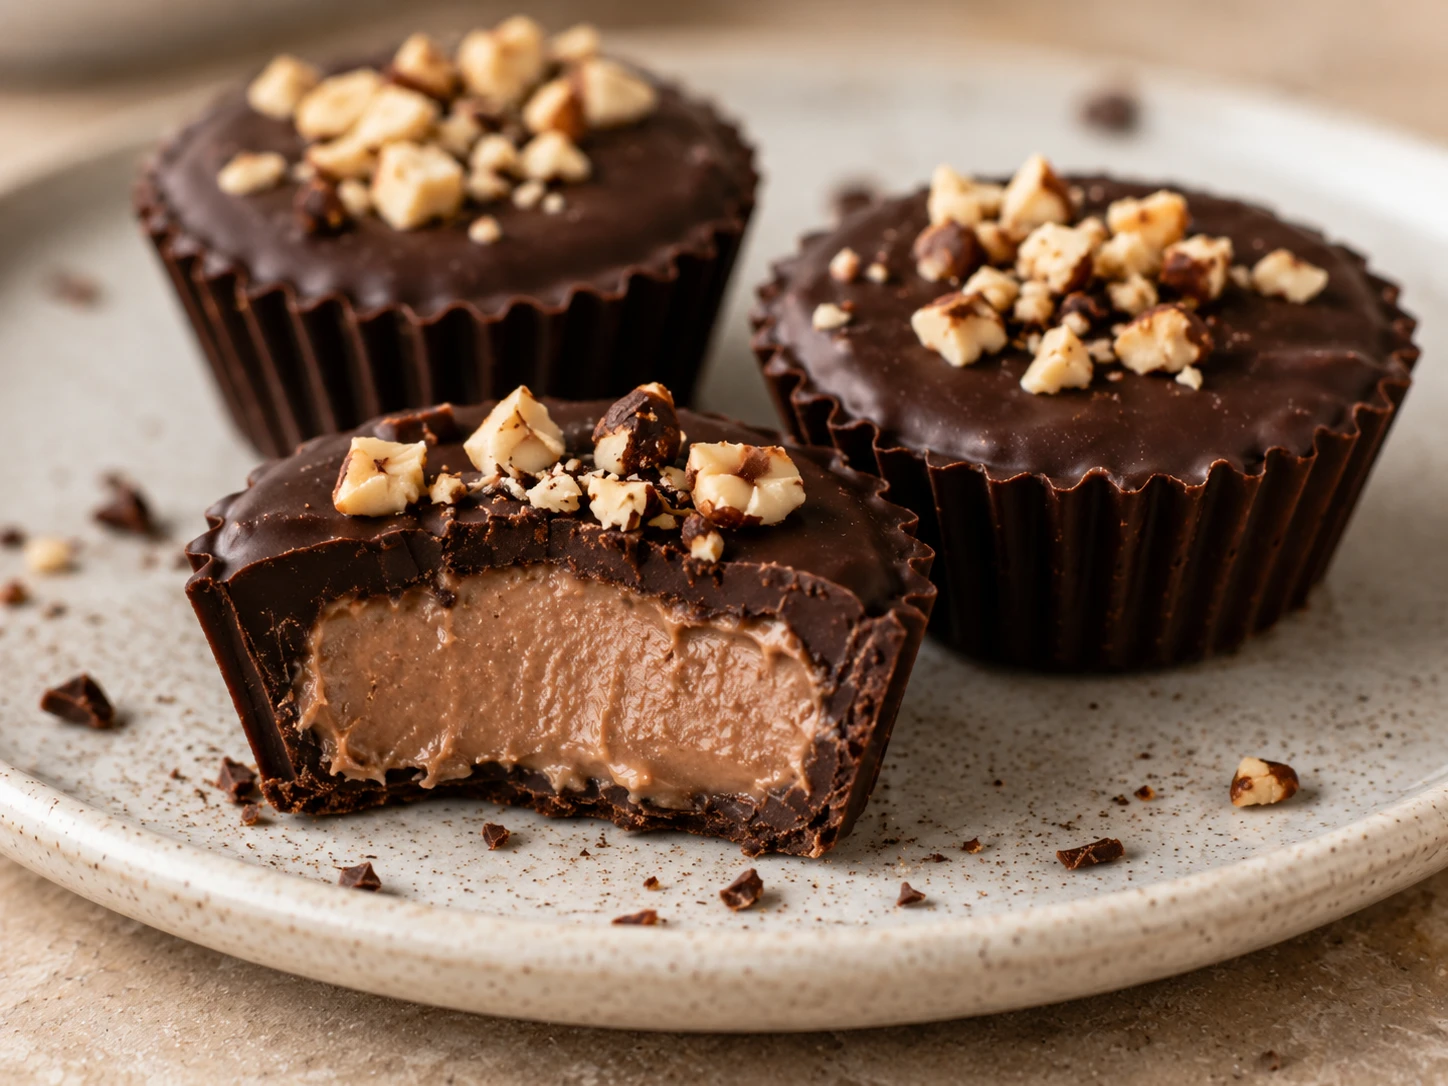
The texture of Chocolate Hazelnut Protein Cups is the part to pay closest attention to. You want it snappy on the outside with a creamy nut-butter middle, so small details like mixing just until combined, scraping the bowl, spreading evenly, or chilling long enough really matter. Dessert recipes can look simple on paper, but texture is where the difference shows up. If the chill time is skipped, the creamy parts may taste fine but stay too loose to scoop, lift, or bite cleanly. The ingredients here work together because dark chocolate, coconut oil, hazelnut butter, protein powder, maple syrup, and chopped hazelnuts bring sweetness, richness, and structure without needing a long list. Use the visual cues in the instructions as your guide, and trust the recipe timing as a starting point, not a reason to ignore what you see in front of you.
Ingredient Notes & Easy Swaps
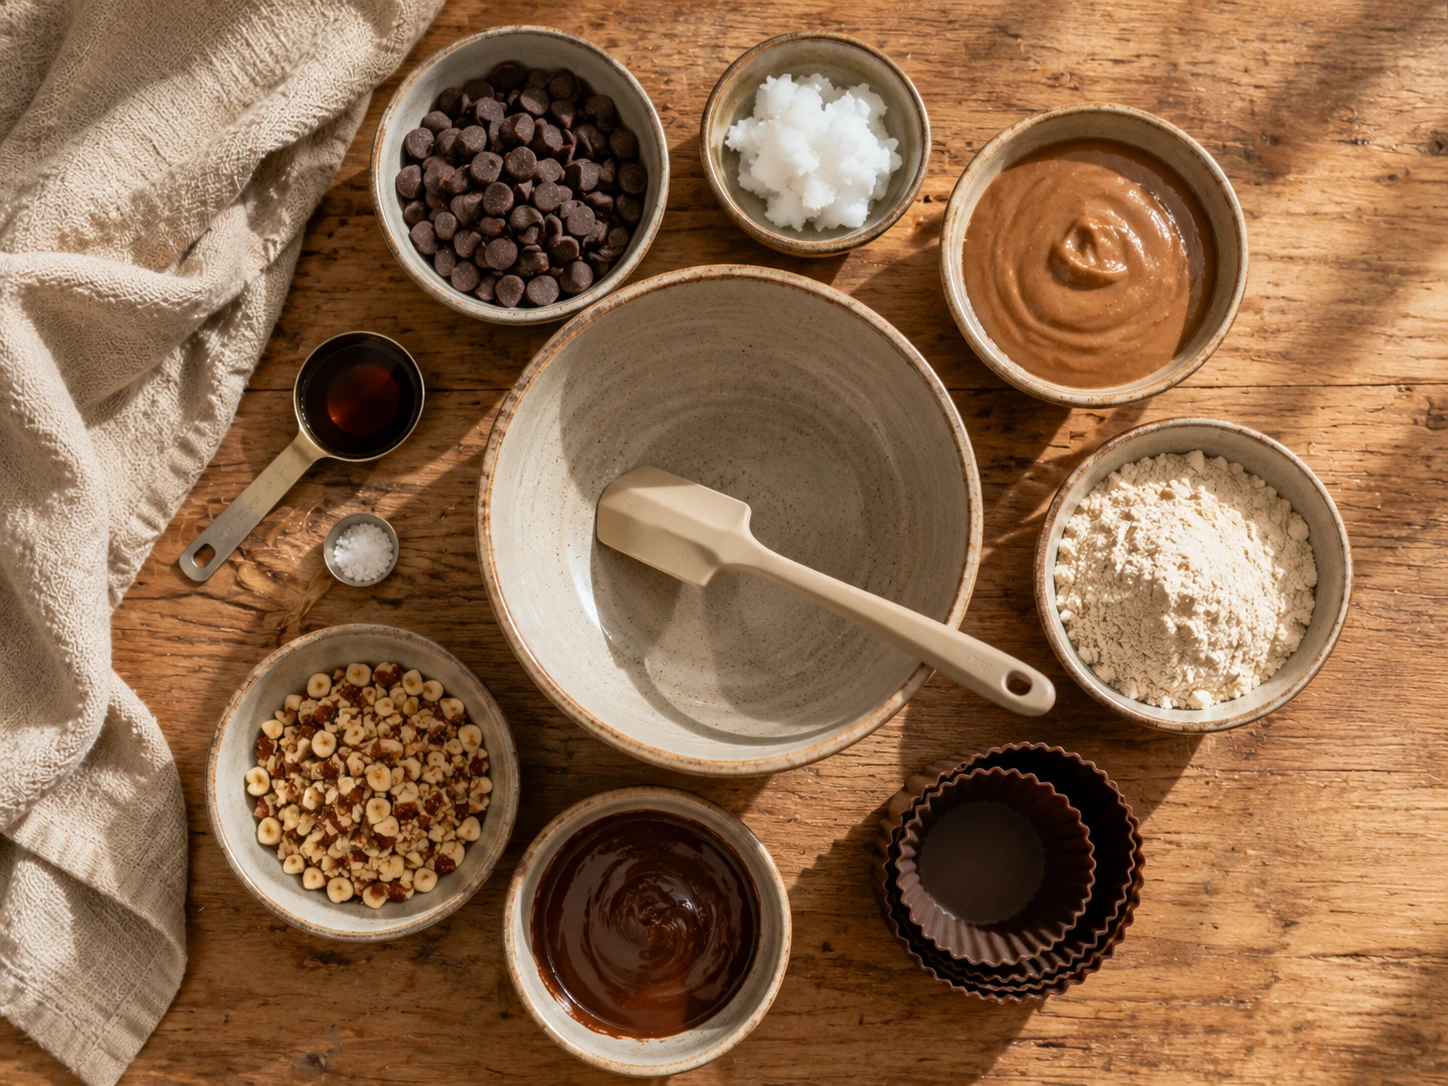
Dark chocolate chips: Chocolate chips form the shell around the filling. For a less sweet cup, choose dark chocolate with a higher cocoa percentage.
Coconut oil: Coconut oil thins the chocolate so it spreads smoothly in the liners and sets firmly after chilling.
Hazelnut butter: Hazelnut butter gives the cups a chocolate-hazelnut flavor. Almond butter is the easiest swap and will still work well.
Protein powder: Vanilla protein powder makes the filling sweeter, while chocolate protein powder makes it richer. Use a gluten-free protein powder if needed.
Maple syrup: Maple syrup softens and sweetens the nut-butter filling. Add only the listed amount so the filling stays thick enough to hold its shape.
Salt: A small pinch of salt keeps the filling from tasting flat and balances the chocolate.
Roasted hazelnuts: Chopped hazelnuts add crunch on top. Chopped almonds or peanuts can be used if hazelnuts are hard to find.
Cold storage: These cups are best kept cold because the chocolate shell and nut-butter filling soften at room temperature.
Chocolate Hazelnut Protein Cups
Description
If you love Nutella, these are your soulmate. A creamy chocolate-hazelnut filling tucked inside a dark chocolate shell, with a protein boost hiding inside. They're rich, satisfying, and feel like a real candy treat without leaving you in a sugar coma. Keep them cold always.
Ingredients
- 1 1/2 cups dark chocolate chips
- 1 tbsp coconut oil
- 1/2 cup hazelnut butter (or almond butter)
- 2 tbsp gluten-free vanilla or chocolate protein powder
- 1 tbsp maple syrup
- Pinch of salt
- 2 tbsp chopped roasted hazelnuts
Instructions
- 1Equipment: a standard 12-cup muffin tin, 10 paper or silicone liners, a medium microwave-safe bowl, a small microwave-safe mixing bowl, a rubber spatula, 2 spoons, measuring cups, measuring spoons, an oven mitt or dry kitchen towel, and a sealed refrigerator- and freezer-safe storage container.
- 2Place one liner in each of 10 muffin wells.
- 3When the hazelnut butter or almond butter has separated, stir it thoroughly in its jar before measuring.
- 4Add 1 1/2 cups dark chocolate chips and 1 tablespoon coconut oil to the medium microwave-safe bowl. Microwave on HIGH in 20-second bursts, stirring after each burst, until completely smooth and glossy. Total heating time is usually about 90 seconds. Handle the bowl with the oven mitt or dry towel when hot.
- 5Spoon about 2 teaspoons of melted chocolate into each of the 10 liners, using roughly half of the melted chocolate in total. Use the back of a spoon to spread it across each bottom and slightly up the sides. Keep the remaining melted chocolate in the bowl for the tops.
- 6Place the muffin tin in the freezer for 5 minutes, until the chocolate bases feel firm.
- 7While the bases set, add 1/2 cup hazelnut butter or almond butter, 2 tablespoons gluten-free vanilla or chocolate protein powder, 1 tablespoon maple syrup, and a pinch of salt to the small microwave-safe mixing bowl. Stir until thick and smooth.
- 8When the filling is too stiff to portion, microwave it for 10 seconds and stir again. The bowl may become warm, so handle it carefully.
- 9Divide all of the filling evenly among the 10 firm chocolate bases. Press each portion into a flat circle that does not reach the liner's edges.
- 10Divide all of the remaining melted chocolate evenly among the 10 cups, completely covering and sealing the filling. When the chocolate has thickened while standing, microwave it for one additional 10-second burst and stir before using.
- 11Tap the muffin tin gently on the counter to level the chocolate tops.
- 12Divide the full 2 tablespoons chopped roasted hazelnuts evenly among the 10 cups and sprinkle them over the chocolate before it sets.
- 13Freeze for at least 30 minutes, until the chocolate cups are completely firm.
- 14Lift each cup from the muffin tin by its liner. Peel away the liner before serving.
- 15Store the cups in the sealed container in the refrigerator for up to 2 weeks or in the freezer for up to 2 months.
Tips and Tricks
- 1
Measure Before You Start: Set out the tools and measure the ingredients for Chocolate Hazelnut Protein Cups before you begin. This keeps you from forgetting small but important items, including vanilla, salt, coconut oil, maple syrup. It also makes the recipe feel calmer when your hands get sticky.
- 2
Respect the Chill Time: The fridge time is part of the recipe, not just waiting around. Chilling firms the mixture, helps chocolate or creamy layers hold their shape, and gives the flavors a chance to settle so each bite tastes smoother.
- 3
Watch the Texture Cues: For Chocolate Hazelnut Protein Cups, do not rely only on the clock. Look for the dessert to be snappy on the outside with a creamy nut-butter middle. Those cues tell you whether the dessert is firm enough to lift, scoop, roll, or bite cleanly. That habit prevents guessing at the end.
- 4
Store for the Best Bite: Store the pieces or cups covered in the fridge, and keep them cold until serving so they stay neat and firm. This protects the texture you worked for and keeps the dessert from drying out, softening too much, or picking up stale flavors before the next serving.
Nutrition
Per serving — Calories: 250kcal, Protein: 7g, Carbs: 20g, Fat: 17g, Fiber: 3g, Sugar: 15g, Sodium: 50mg.
Nutrition information is an estimate and may vary based on ingredient brands, product sizes, preparation methods, and substitutions. It is not intended as medical or dietary advice.