
Chocolate Peanut Butter Protein Cups
 By Better Plate Recipes
Have a recipe from another site? Import it →
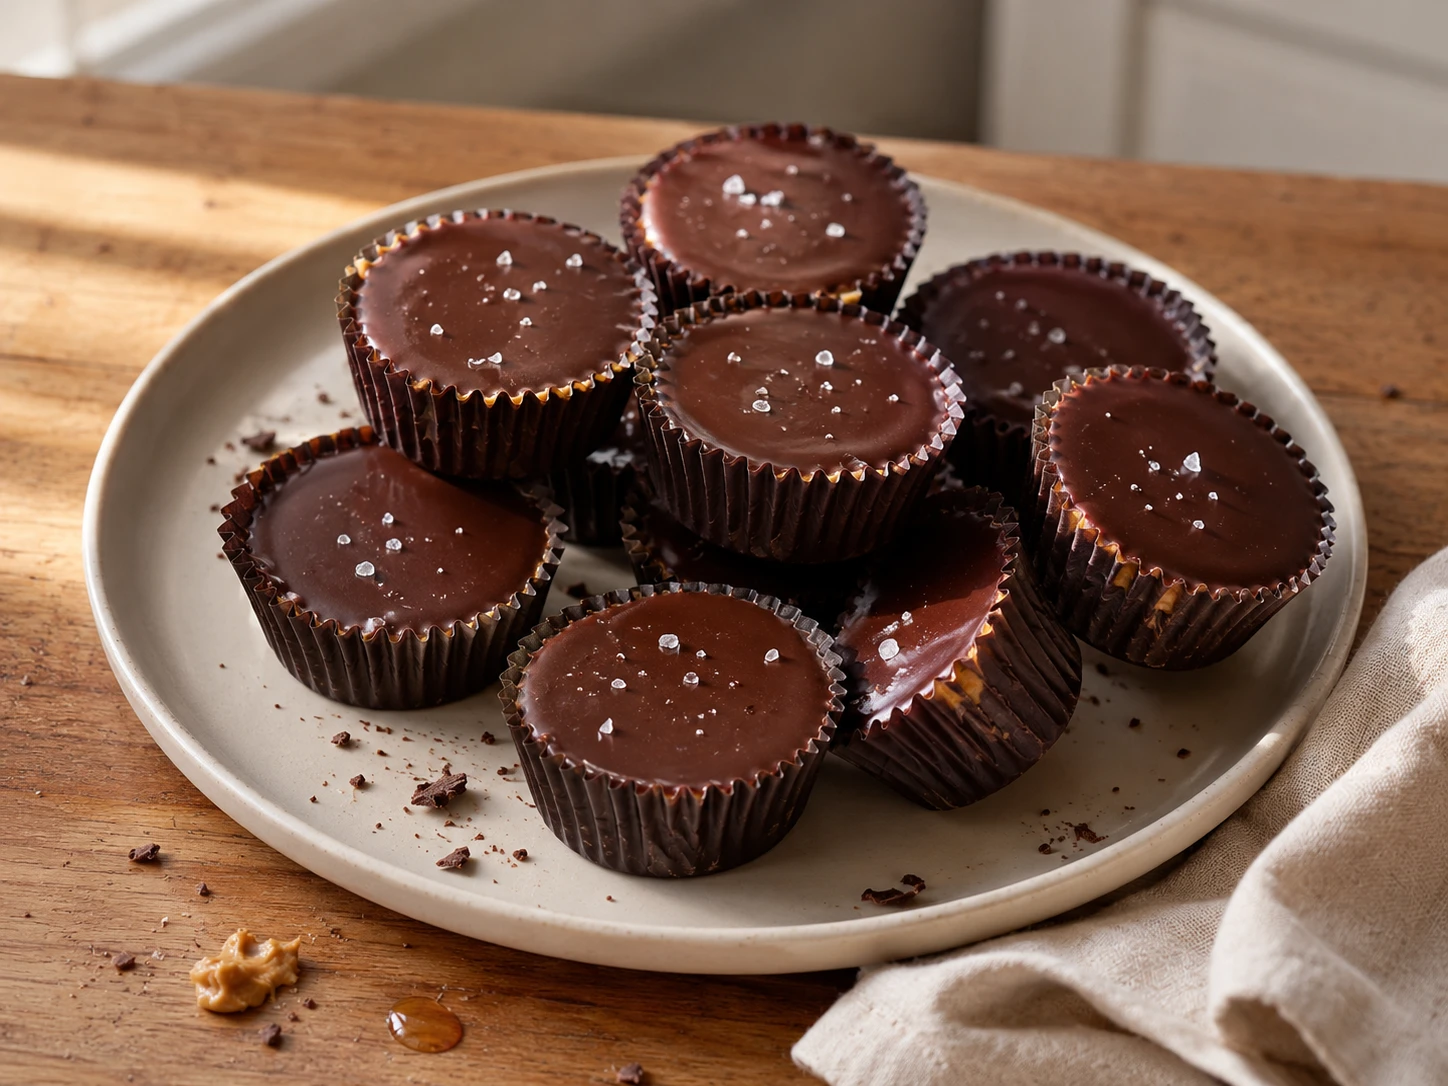
Dark chocolate chips and coconut oil melt into a glossy shell around a thick peanut butter, vanilla protein powder, maple, and sea salt center. These no-bake cups chill until firm, giving you a cold chocolate-peanut-butter snack with a satisfying snap. Keep them chilled so the chocolate shell stays firm.
Why You’ll Love This Recipe
You will love Chocolate Peanut Butter Protein Cups because it gives you a snack that feels complete without making the prep complicated. In this recipe, dark chocolate forms the shell, coconut oil helps it melt smoothly, and peanut butter with protein powder creates a thick sweet-salty center. That balance makes it useful for a no-bake dessert snack, freezer treat, or make-ahead chocolate bite. The instructions stay beginner-friendly because they explain the texture and timing cues that matter most. The peanut butter filling should feel like soft dough so it can sit in the center without spreading into the edges. When those small details are clear, the recipe is easier to repeat and much harder to mess up. It also stays true to the ingredients in the file, so the flavor, nutrition, and method do not drift into something else.
What Makes This Recipe Work
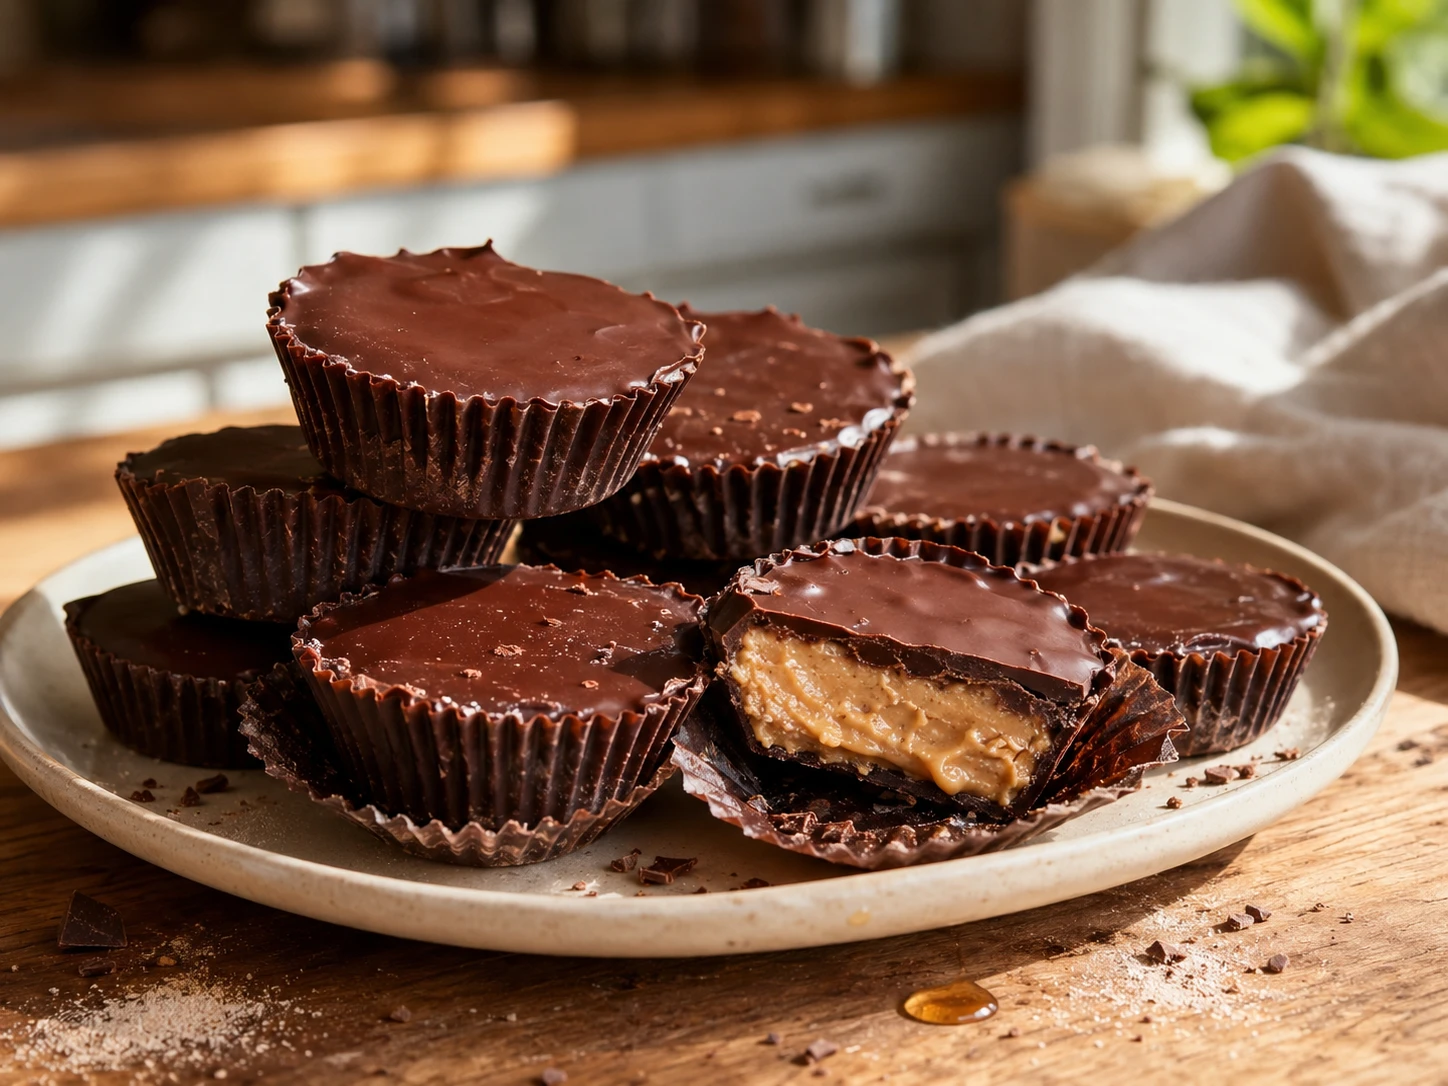
The strength of Chocolate Peanut Butter Protein Cups is its texture. In this recipe, dark chocolate forms the shell, coconut oil helps it melt smoothly, and peanut butter with protein powder creates a thick sweet-salty center. That matters because snacks can feel boring when everything is soft, dry, or one-note. Here, the contrast gives the recipe a real reason to exist beyond just being quick. The beginner cue is especially useful: The peanut butter filling should feel like soft dough so it can sit in the center without spreading into the edges. A new cook can follow that sign with their eyes, hands, or spoon instead of guessing. That is what makes the recipe easier to trust. It also keeps the result consistent, whether the snack is creamy, crunchy, frozen, chilled, or served right away.
Notes That Make It Easier
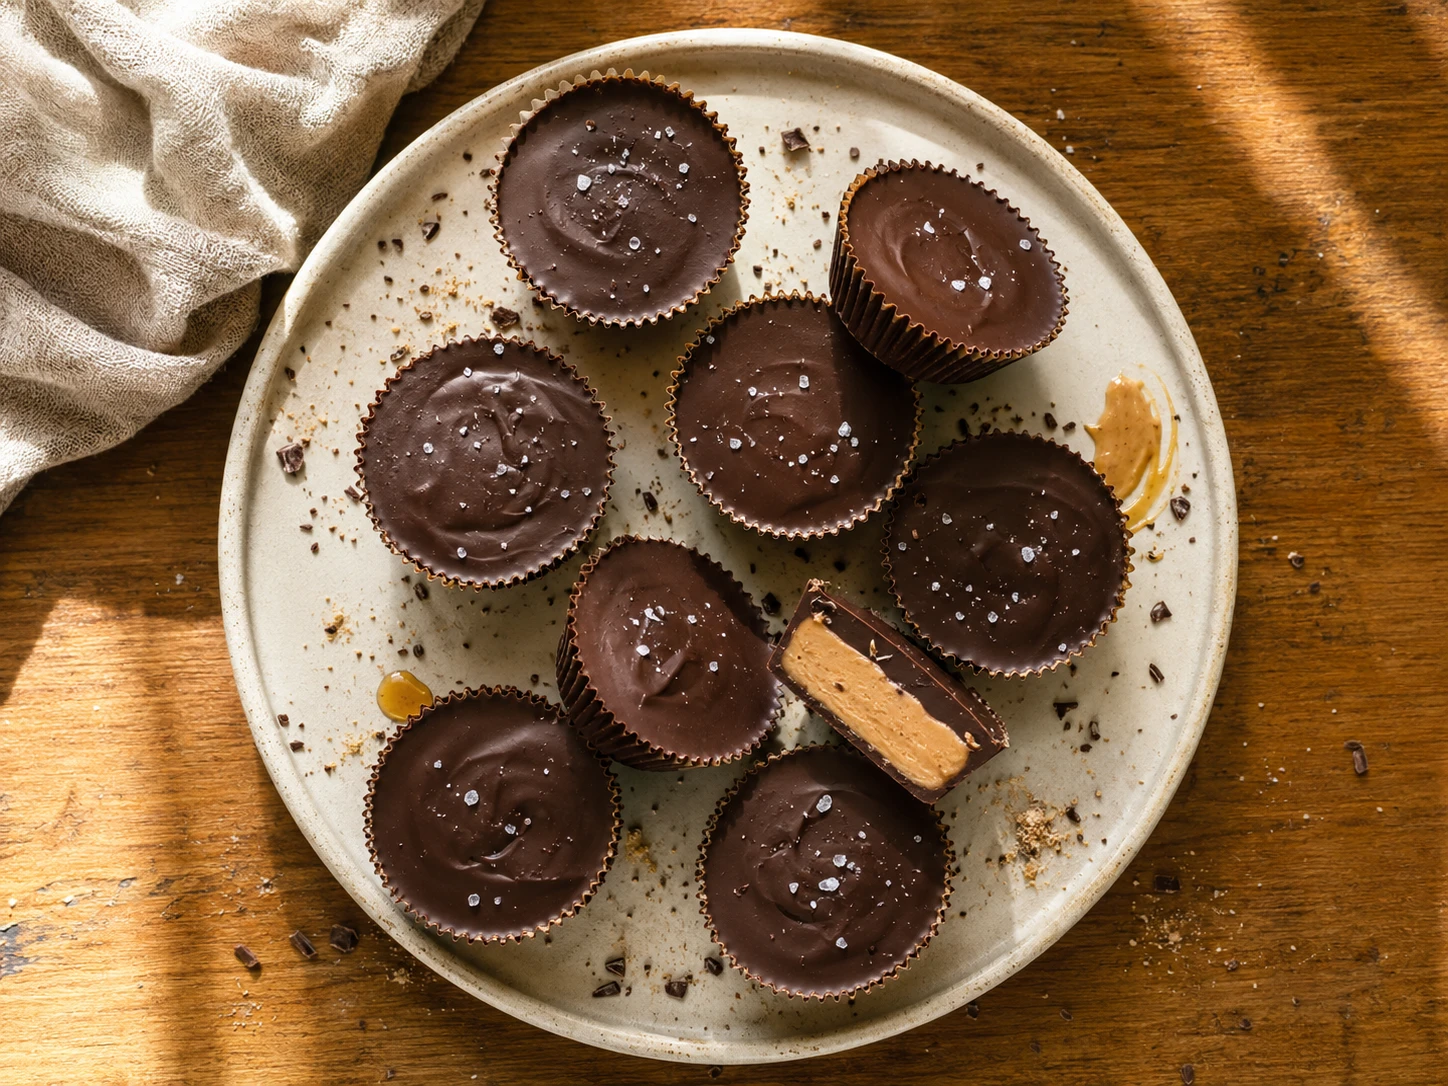
This recipe also works because the prep order protects the final texture. Use mini muffin liners inside a tin, chill the bottom chocolate layer first, flatten the peanut butter filling into small discs, and chill until the chocolate is fully hard before removing. For snacks, that matters just as much as flavor. A dip that gets watery, a cucumber that softens, a rice cake that loses crunch, or a frozen bite that melts too fast can make a good idea feel disappointing. These instructions are written to prevent that. They explain when to chill, cool, dry, spread, fold, freeze, or serve so the recipe makes sense for a beginner. Once those small steps are clear, Chocolate Peanut Butter Protein Cups becomes much easier to repeat with the same reliable result.
Ingredient Notes & Easy Swaps
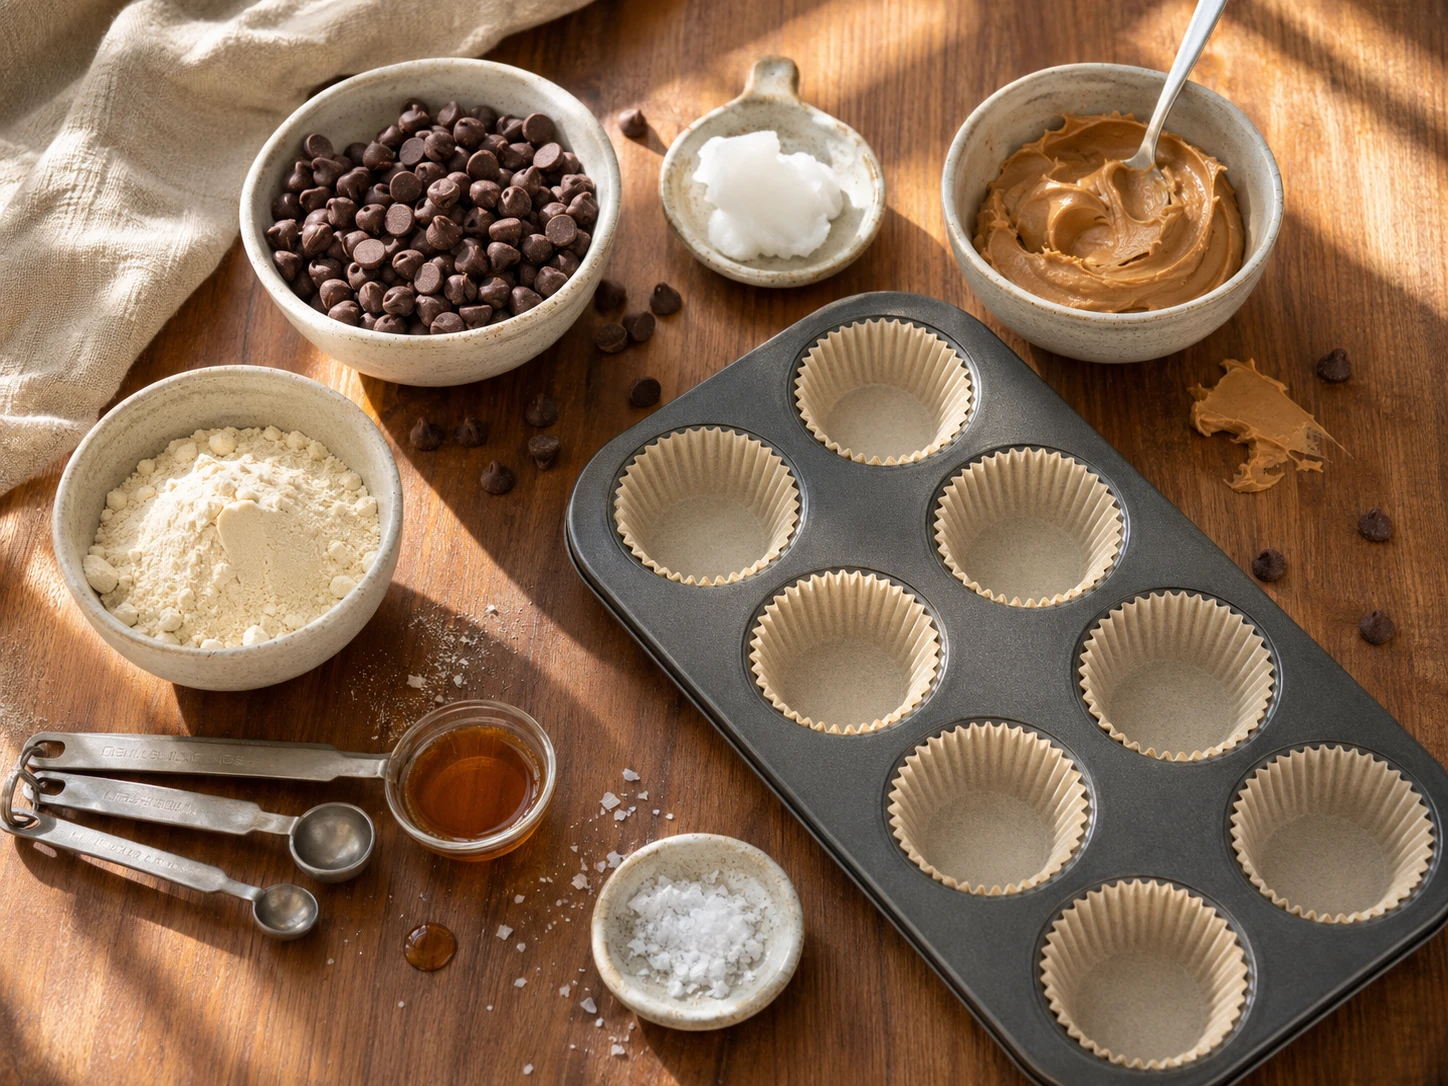
Dark chocolate chips: Dark chocolate makes the cups rich and gives the shell a firmer bite when chilled. Semi-sweet chips can work for a sweeter version.
Coconut oil: Coconut oil helps the chocolate melt smoothly and set with a glossy finish. Use the small amount listed so the shell does not become greasy.
Natural peanut butter: Natural peanut butter makes the filling creamy and nutty. Stir it well before measuring so the filling is not oily in some spots and dry in others.
Vanilla protein powder: Protein powder thickens the peanut butter filling. Different brands absorb moisture differently, so the filling should look thick and dough-like, not crumbly.
Maple syrup: Maple syrup lightly sweetens the filling and helps it come together. Honey can work too if you are not keeping the recipe strictly maple-sweetened.
Sea salt: A small pinch of salt balances the chocolate and peanut butter. Flaky salt can also be sprinkled on top before chilling if you want a stronger sweet-salty bite.
Mini muffin liners: Mini liners help the cups release cleanly. Keep the filling centered so chocolate can cover the edges and seal each cup.
Chilling: Store the cups cold so the chocolate stays firm. They will soften if left out for too long.
Chocolate Peanut Butter Protein Cups
Description
Dark chocolate chips and coconut oil melt into a glossy shell around a thick peanut butter, vanilla protein powder, maple, and sea salt center. These no-bake cups chill until firm, giving you a cold chocolate-peanut-butter snack with a satisfying snap. Keep them chilled so the chocolate shell stays firm.
Ingredients
- 1 cup dark chocolate chips
- 1 tsp coconut oil
- 1/2 cup natural peanut butter
- 2 tbsp vanilla protein powder
- 1 tbsp maple syrup
- Pinch of sea salt
- 8 mini muffin liners
Instructions
- 1Equipment: a mini muffin tin, 8 mini muffin liners, a microwave-safe bowl, a small bowl, a spoon, a measuring tablespoon, freezer space, and refrigerator space.
- 2Place 8 mini muffin liners in a mini muffin tin so the liners stay open and easy to fill.
- 3In a small microwave-safe bowl, combine 1 cup dark chocolate chips and 1 teaspoon coconut oil. Microwave in 30-second bursts, stirring after each burst, until the chocolate is melted and glossy, about 1 minute total.
- 4Spoon about 1 teaspoon melted chocolate into the bottom of each liner. Spread it across the bottom with the back of the spoon, then freeze the tin for 5 minutes so the layer firms up.
- 5In a small bowl, stir 1/2 cup natural peanut butter, 2 tablespoons vanilla protein powder, 1 tablespoon maple syrup, and a pinch of sea salt until the mixture looks thick, smooth, and dough-like.
- 6Remove the tin from the freezer. Roll about 1 rounded tablespoon peanut butter mixture into a small flat disc and place it in the center of each chocolate cup, leaving a small border around the edge.
- 7Spoon the melted chocolate left in the bowl over the cups to cover the peanut butter fully. Tap the tin gently on the counter so the tops settle flat.
- 8Refrigerate for 30 minutes, until the chocolate is hard and each cup releases easily from the liners. Eat cold.
Tips and Tricks
- 1
Melt Chocolate Slowly: Short microwave bursts protect the chocolate from scorching. Stir between each burst, because chocolate can hold its shape even when melted, and stirring helps it become smooth without overheating. That keeps the finished snack easier to handle and enjoy. It also protects the fresh flavor of the main ingredients.
- 2
Chill the Bottom Layer: The first chocolate layer needs a quick freeze before the peanut butter goes in. If it is still soft, the filling can sink through and that cup will not have a clean chocolate base. That makes the final bite cleaner, fresher, and more balanced.
- 3
Leave a Chocolate Border: Keep the peanut butter disc slightly smaller than the liner so chocolate can flow around the sides. That border seals the filling inside and gives each cup a better snap when chilled. It keeps the recipe simple without adding off-recipe ingredients.
- 4
Eat Cold: These cups are meant to be chilled. At room temperature, the chocolate and peanut butter center soften, especially because coconut oil helps the shell melt smoothly. That helps the snack hold up better after chilling or serving. It is a practical detail that makes the result more reliable.
Nutrition
Per serving — Calories: 230kcal, Protein: 7g, Carbs: 18g, Fat: 15g, Fiber: 2g, Sugar: 14g, Sodium: 60mg.
Nutrition information is an estimate and may vary based on ingredient brands, product sizes, preparation methods, and substitutions. It is not intended as medical or dietary advice.