
Crispy Chickpea Snack Cups
 By Better Plate Recipes
Have a recipe from another site? Import it →
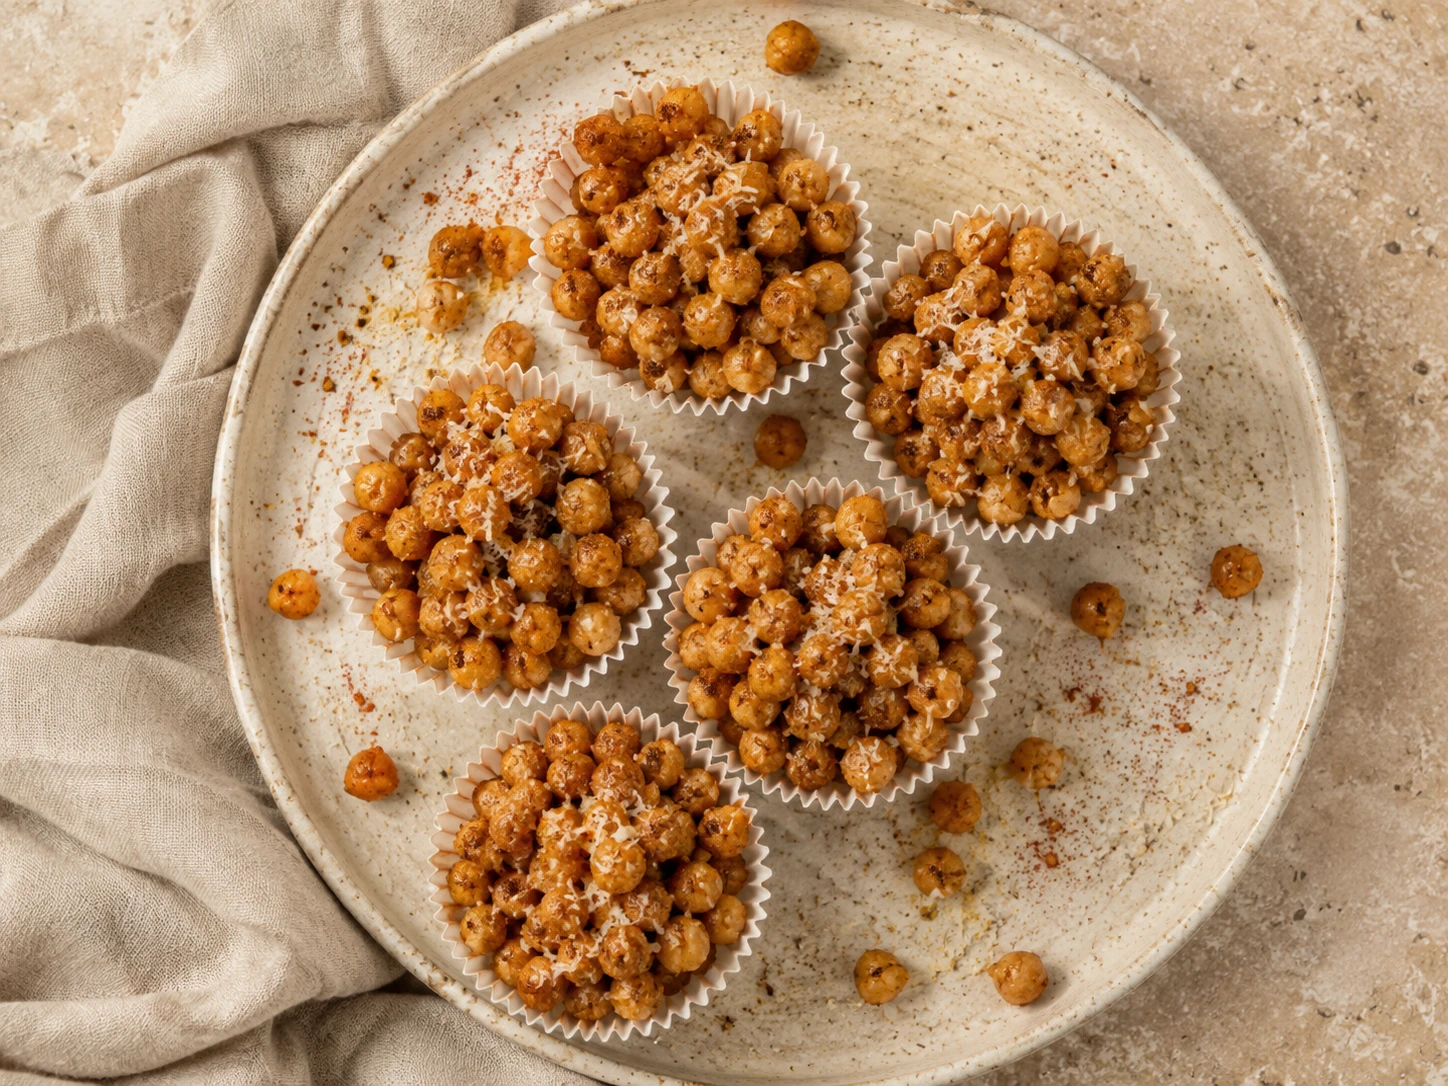
Canned chickpeas roast with olive oil, smoked paprika, garlic powder, cumin, salt, and pepper until golden and crunchy, then Parmesan can finish them if you like. They are smoky, salty, high-fiber, and easy to portion into snack cups once cooled. Let them cool before packing so they stay crunchy.
Why You’ll Love This Recipe
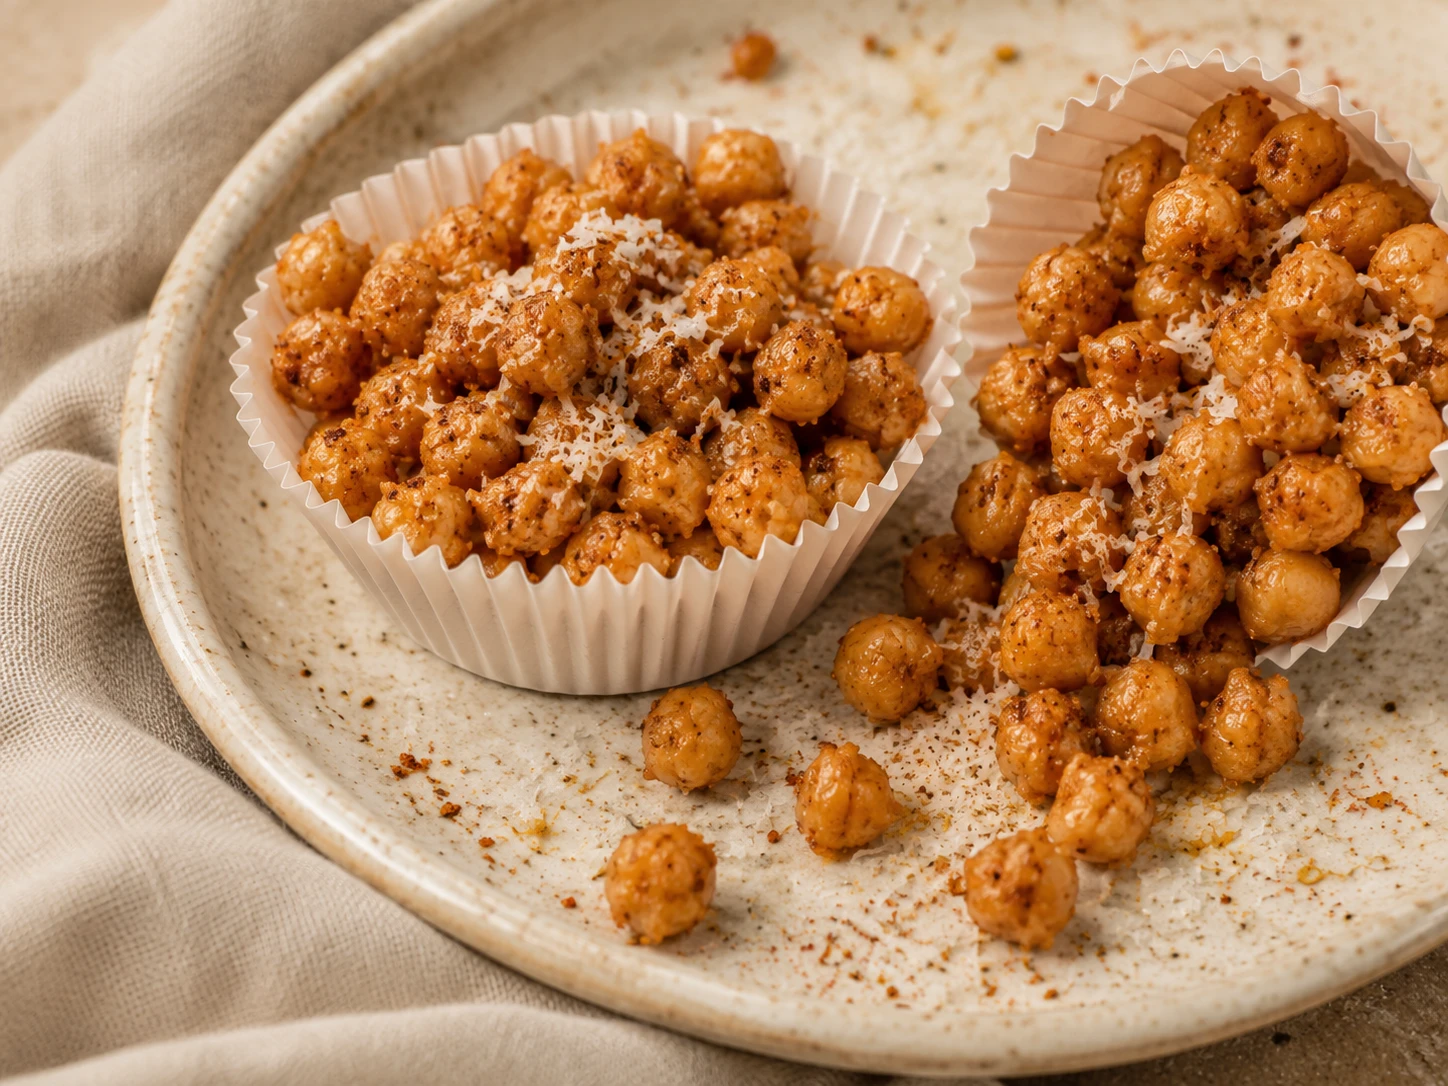
You will love Crispy Chickpea Snack Cups because they give you a savory, crunchy snack that feels satisfying without needing chips or dip. In this recipe, chickpeas bring plant protein and fiber, olive oil helps them roast, and smoked paprika, garlic powder, cumin, salt, and pepper make them savory. It fits naturally into crunchy snack cups, lunchbox extras, or a chip-style snack with more fiber, especially when you want something crunchy, savory, and easy to portion. The instructions are written with beginner cues so the method feels calm instead of vague. The chickpeas should be deep golden and crunchy when tested, then they crisp more as they cool on the pan. That one check helps protect the texture and keeps the snack easier to repeat the next time you make it.
What Makes This Recipe Work
The main thing Crispy Chickpea Snack Cups needs is the right texture. In this recipe, chickpeas bring plant protein and fiber, olive oil helps them roast, and smoked paprika, garlic powder, cumin, salt, and pepper make them savory. That texture matters because if the chickpeas stay damp, they steam and lose the crunch the recipe promises. The goal is dry, crunchy chickpeas that stay crisp after cooling, so each prep cue protects the part of the snack people notice first. The beginner cue matters here: The chickpeas should be deep golden and crunchy when tested, then they crisp more as they cool on the pan. Use that cue as your finish line: it tells you when the chickpeas sound dry and feel crisp after cooling instead of asking you to guess.
Ingredient Notes & Easy Swaps
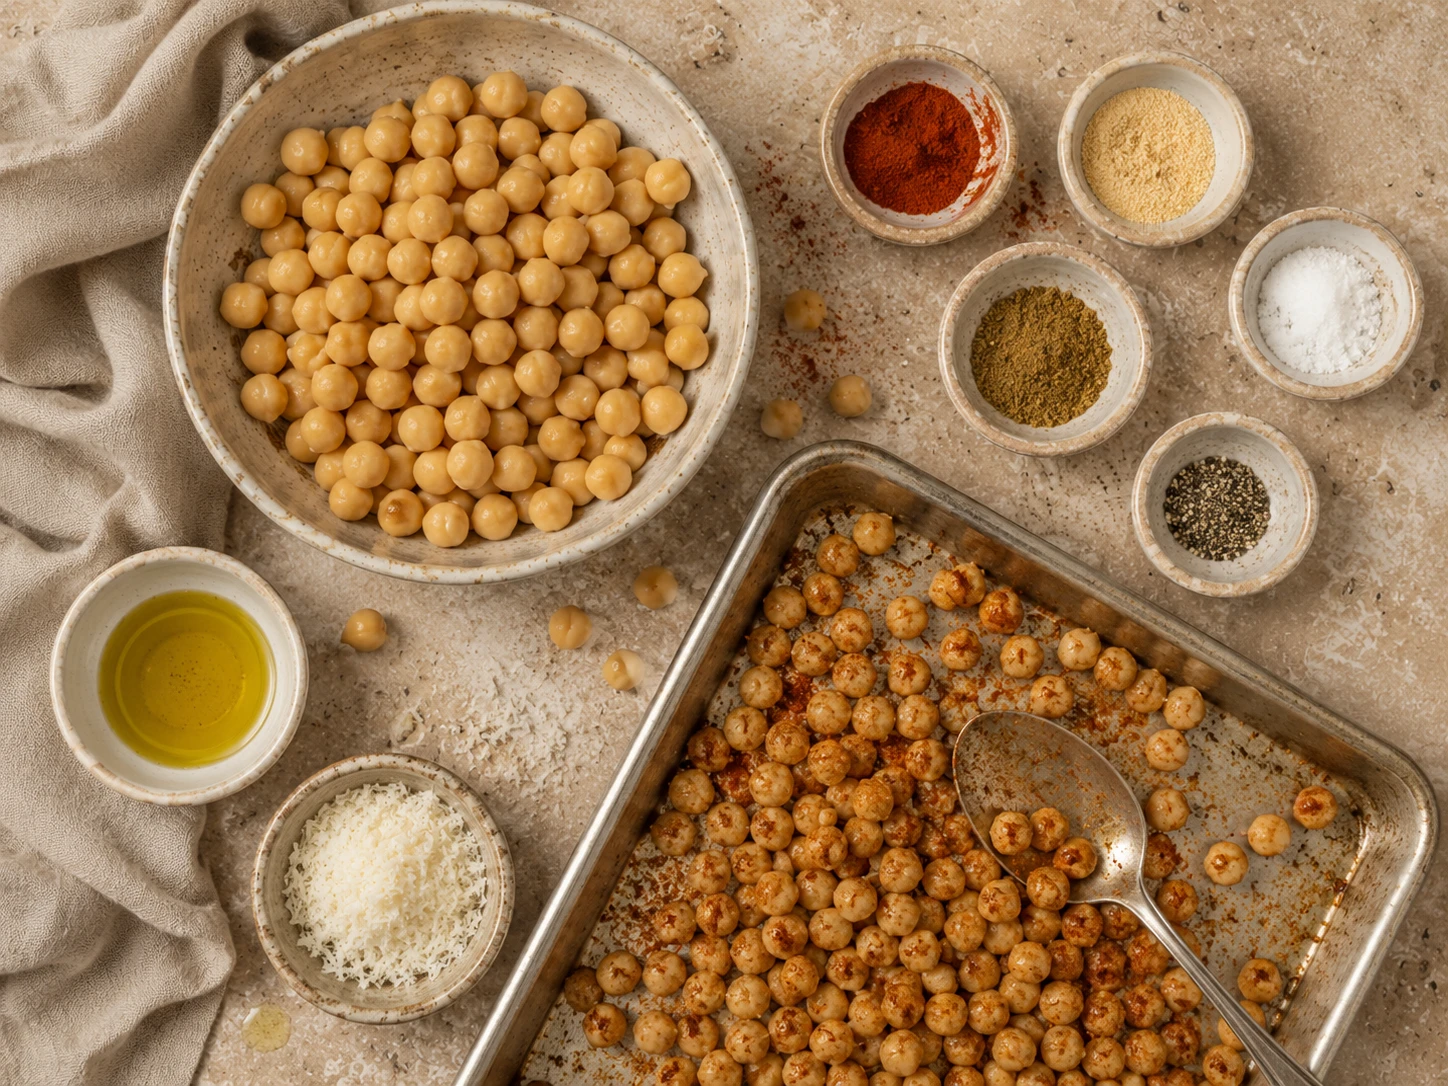
Chickpeas: Drain, rinse, and dry the chickpeas very well so they roast instead of steam. Loose skins can be rubbed off, but you do not need to peel every chickpea.
Olive oil: Olive oil helps the seasonings stick and helps the chickpeas turn crisp in the oven. Avocado oil can also work.
Smoked paprika: Smoked paprika gives the chickpeas a warm, smoky flavor. Regular paprika can work for a milder taste.
Garlic powder: Garlic powder seasons the chickpeas evenly without burning like fresh garlic might. Onion powder can be added for a slightly sweeter savory flavor.
Ground cumin: Cumin adds earthy flavor that works well with smoked paprika. Use a little less if you want the chickpeas to taste more neutral.
Salt and black pepper: These make the roasted chickpeas taste snackable. Add extra salt only after tasting because Parmesan can add saltiness too.
Parmesan: Parmesan is optional and adds a savory finish after roasting. Use vegetarian Parmesan-style cheese if needed, or skip it for a dairy-free snack.
Cooling tip: Let the chickpeas cool before packing so trapped steam does not soften them.
Crispy Chickpea Snack Cups
Description
Canned chickpeas roast with olive oil, smoked paprika, garlic powder, cumin, salt, and pepper until golden and crunchy, then Parmesan can finish them if you like. They are smoky, salty, high-fiber, and easy to portion into snack cups once cooled. Let them cool before packing so they stay crunchy.
Ingredients
- 1 (15 oz) can chickpeas, drained and rinsed
- 1 tbsp olive oil
- 1/2 tsp smoked paprika
- 1/2 tsp garlic powder
- 1/4 tsp ground cumin
- 1/4 tsp salt
- 1/8 tsp black pepper
- 1 tbsp grated Parmesan cheese (optional)
Instructions
- 1Equipment: an oven, a large rimmed baking sheet, parchment paper, a can opener, a colander, a clean kitchen towel, a medium mixing bowl, a spoon or rubber spatula, measuring spoons, a timer, oven mitts, a small heat-safe plate, 4 snack cups, a loosely covered storage container, and a small lidded cup for the optional Parmesan when storing the chickpeas.
- 2Position an oven rack in the center and heat the oven to 425°F. Line the rimmed baking sheet with parchment paper.
- 3Open, drain, and rinse the 15-ounce can of chickpeas. Shake off the water, spread the chickpeas over the clean towel, fold the towel over them, and roll gently until they feel very dry. Remove loose skins that come away easily, but do not spend time peeling every chickpea.
- 4Transfer the dry chickpeas to the mixing bowl. Add 1 tablespoon olive oil, 1/2 teaspoon smoked paprika, 1/2 teaspoon garlic powder, 1/4 teaspoon ground cumin, 1/4 teaspoon salt, and 1/8 teaspoon black pepper. Toss until every chickpea is lightly and evenly coated.
- 5Spread the chickpeas in one uncrowded layer on the prepared baking sheet. Place the sheet on the center rack and roast for 15 minutes.
- 6Using oven mitts, carefully remove the sheet and shake or stir the chickpeas so different sides contact the hot pan. Return the sheet to the oven and roast for another 10 to 15 minutes. Begin checking at 25 minutes total. They should look dry and deep golden.
- 7To test the texture safely, remove one chickpea to the small heat-safe plate and let it cool for 2 minutes before tasting it. When the center is still soft, roast the remaining chickpeas for another 3 to 5 minutes and check again. Do not taste a chickpea directly from the hot baking sheet.
- 8Remove the sheet from the oven and let the chickpeas cool on the pan for at least 10 minutes. They will become crisper as they cool. When serving them immediately, sprinkle the 1 tablespoon grated Parmesan evenly over the warm chickpeas if using it. When storing the chickpeas, place the Parmesan in the separate lidded cup, refrigerate it, and add it only when serving.
- 9For same-day serving, divide the completely cooled chickpeas evenly among 4 snack cups. For longer storage, leave the fully cooled chickpeas together in the loosely covered container at room temperature and portion them when serving. Use within 2 days. Do not seal them while they are warm because trapped steam will soften them. If they lose some crunch, spread them on a baking sheet and warm them at 350°F for 5 to 8 minutes, then let them cool for several minutes before eating.
Tips and Tricks
- 1
Dry Very Well: Dry chickpeas roast much better than wet ones. Water on the surface creates steam, which keeps them soft, so take the extra minute to roll them in a towel before seasoning. You are aiming for dry, crunchy chickpeas that stay crisp after cooling, so this first cue protects the structure before anything else goes on.
- 2
Use One Layer: Crowded chickpeas steam instead of crisp. Spread them out on the baking sheet so hot air can move around each one and help the outsides turn golden. This gives beginners a clear check: the chickpeas sound dry and feel crisp after cooling.
- 3
Test One Carefully: Color helps, but the best doneness cue is crunch. Let one chickpea cool for a few seconds, then bite it. If it is still soft inside, bake a little longer. The payoff is dry, crunchy chickpeas that stay crisp after cooling, and the listed ingredients still taste clear.
- 4
Cool Before Storing: Warm chickpeas release steam in a container, which softens them. Let them cool first, then portion them so they stay as crisp as possible for snacking. For storage or serving, check that the chickpeas sound dry and feel crisp after cooling and keep the snack in that state as long as possible.
Nutrition
Per serving — Calories: 105kcal, Protein: 4g, Carbs: 11g, Fat: 5g, Fiber: 3g, Sugar: 0g, Sodium: 170mg.
Nutrition information is an estimate and may vary based on ingredient brands, product sizes, preparation methods, and substitutions. It is not intended as medical or dietary advice.