
Mini Protein Banana Bread Loaves
 By Better Plate Recipes
Have a recipe from another site? Import it →
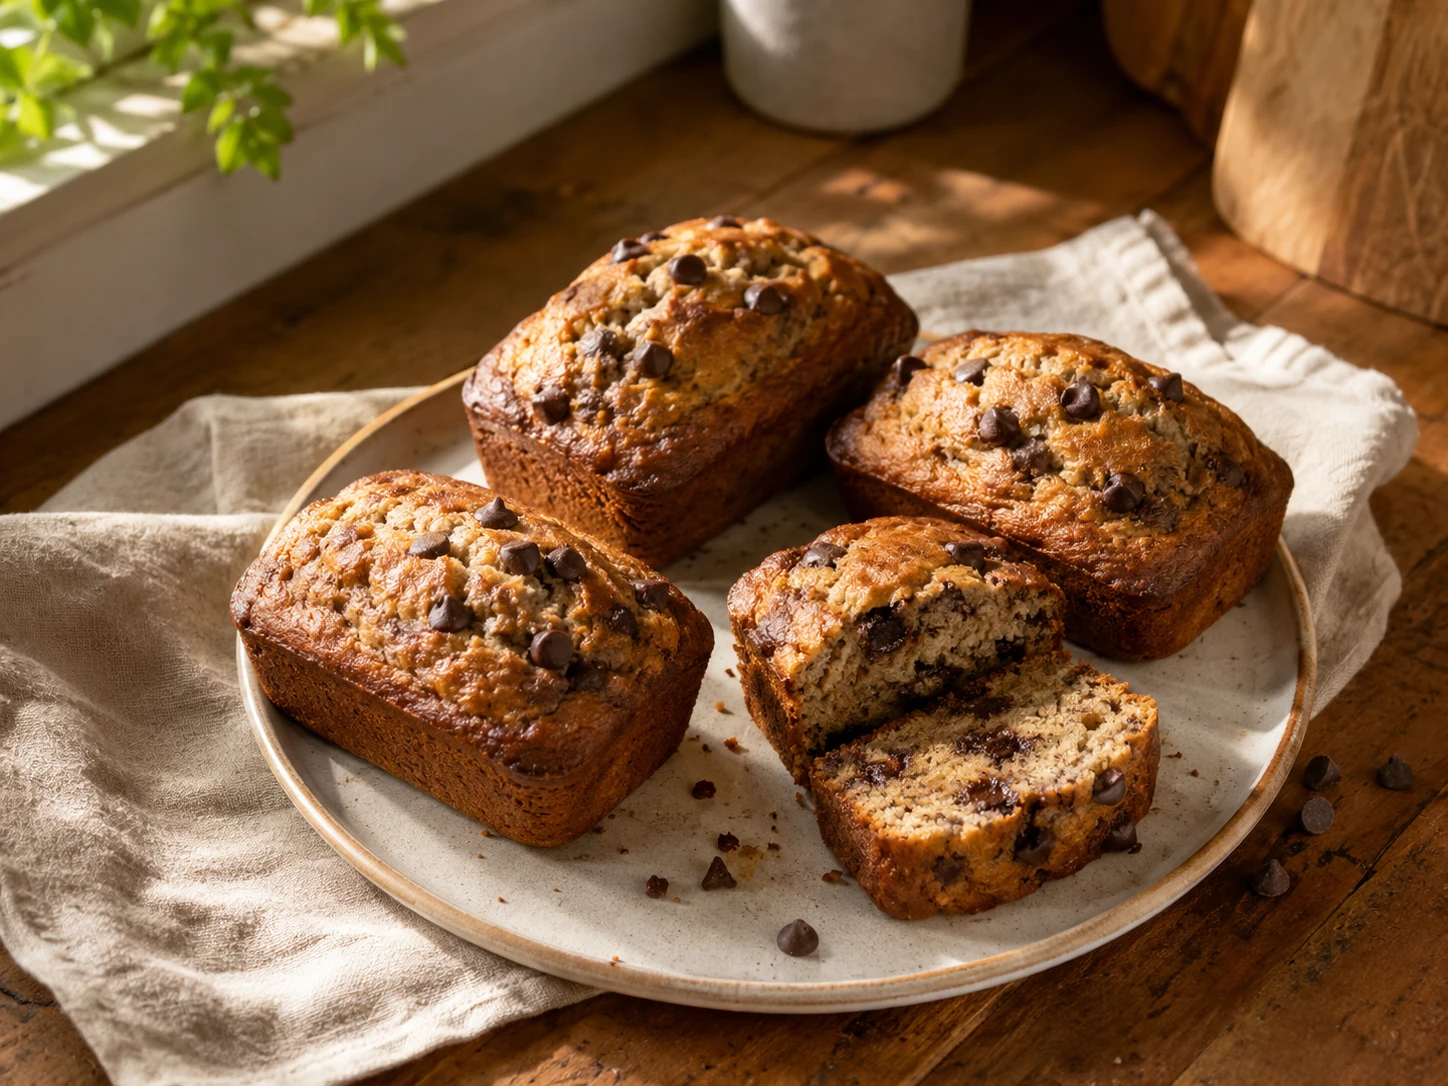
Very ripe bananas, eggs, Greek yogurt, oat flour, vanilla protein, maple syrup, coconut oil, cinnamon, and chocolate chips or walnuts bake into mini banana bread loaves. They are soft, lightly sweet, freezer-friendly, and satisfying enough for breakfast or dessert. It stays simple, too. Easy enough for busy days.
Why You’ll Love This Recipe
Mini Protein Banana Bread Loaves works because it gives you the feeling of dessert while still using simple ingredients you can recognize. The combination of ripe bananas, eggs, coconut oil, maple syrup, Greek yogurt, vanilla, oat flour, vanilla protein powder, baking soda, salt, cinnamon, and chocolate chips or walnuts creates something soft, banana-rich, lightly sweet, and protein-boosted, so it feels satisfying without being fussy. The method is approachable too: a mini loaf pan bake keeps the steps clear, and the main texture cue is easy to spot because you are looking for golden tops, edges pulling slightly from the pan, and a toothpick with clean crumbs. It is the kind of recipe you can make when you want something sweet but do not want a complicated project. The flavors are familiar, the portions are easy to manage, and the finished dessert feels homemade in a real, everyday way.
What Makes This Recipe Work
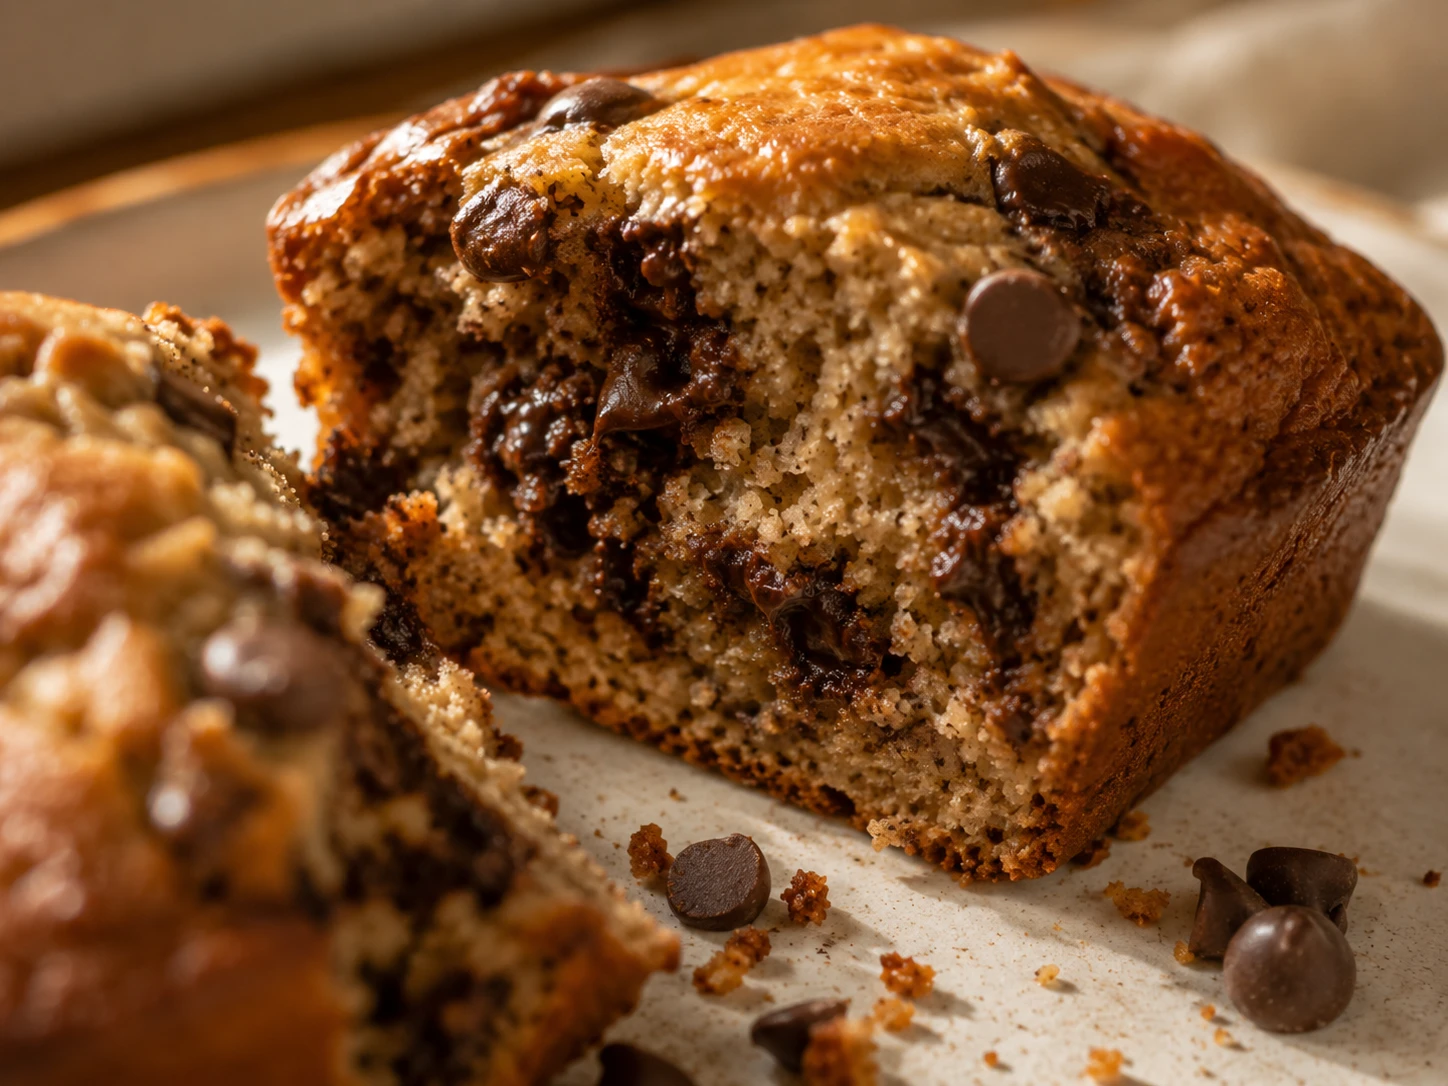
Mini Protein Banana Bread Loaves is built around balance, which is what keeps a healthier dessert from tasting flat or overly plain. The first few ingredients create the base, while the rest add sweetness, richness, structure, or a little contrast. The most important part is not rushing the texture. For this recipe, you want golden tops, edges pulling slightly from the pan, and a toothpick with clean crumbs, because that tells you the dessert will hold together and eat the way it should. A beginner can follow this by looking closely instead of guessing. If the mixture looks uneven, stir, blend, chill, freeze, or bake a little longer based on the step. Small patience points like that make the finished dessert taste intentional. For a beginner, that clear signal is useful because it tells you what to do without guessing.
Texture and Flavor Notes
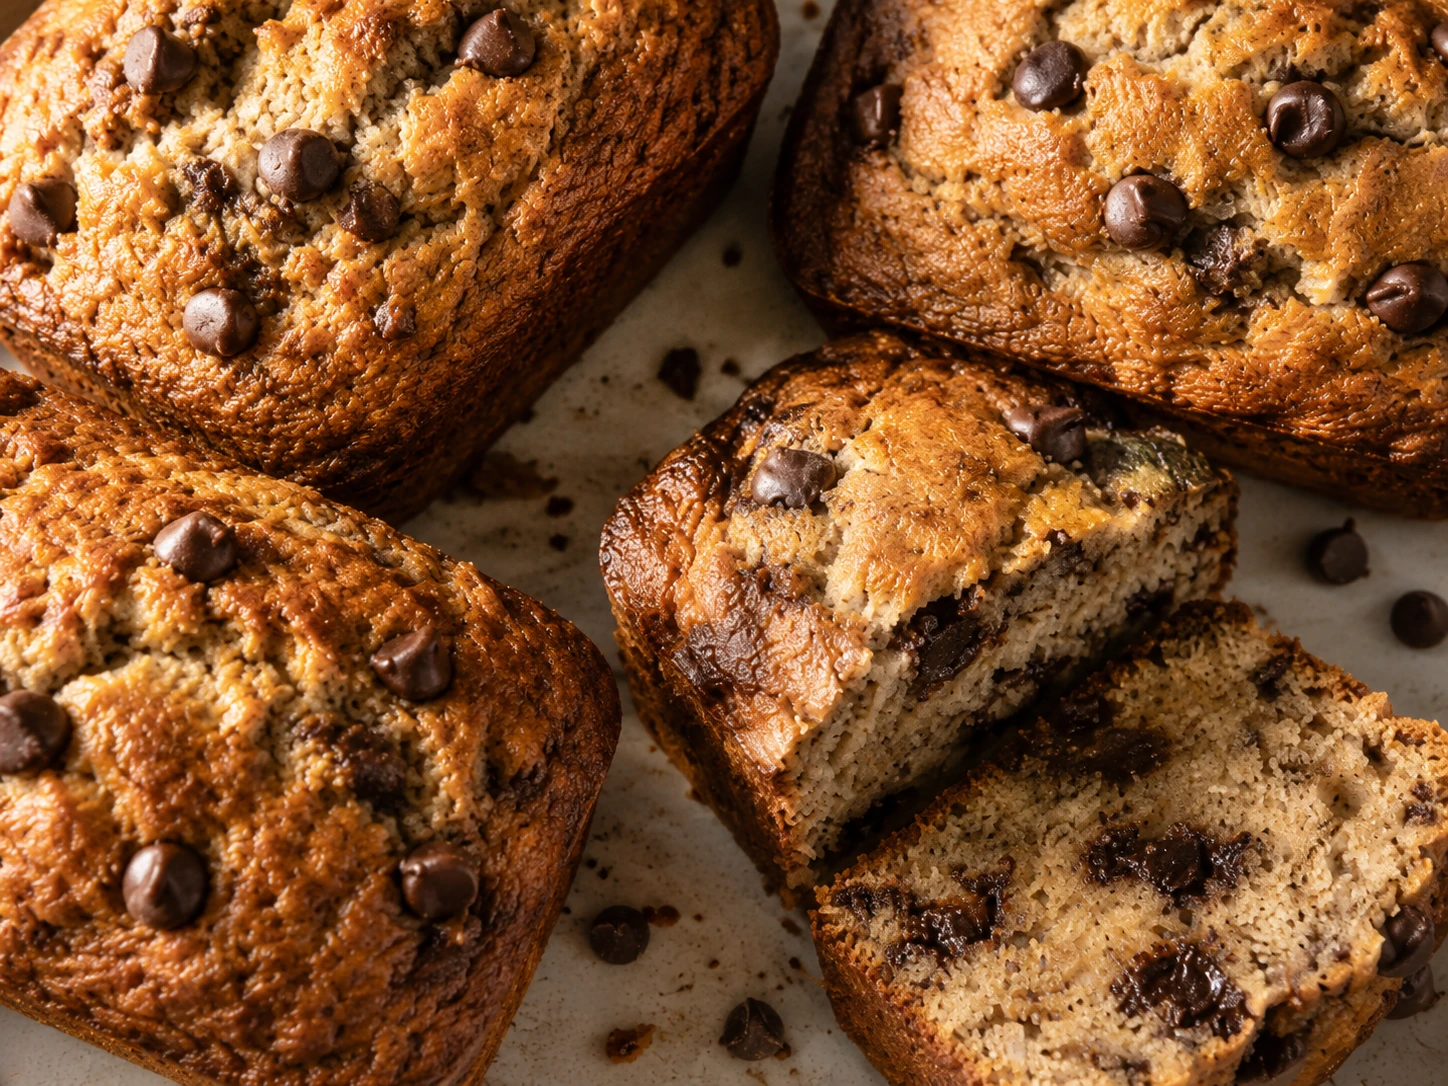
The texture of Mini Protein Banana Bread Loaves is where most of the enjoyment comes from. It should feel soft, banana-rich, lightly sweet, and protein-boosted, with enough contrast to keep each bite interesting. For this no-bake dessert, watch the texture and set instead of only trusting the timer, because chill times can vary a little. The flavor should match the ingredient list clearly, especially the main notes from ripe bananas, eggs, coconut oil, maple syrup, Greek yogurt, vanilla, oat flour, vanilla protein powder, baking soda, salt, cinnamon, and chocolate chips or walnuts. Nothing here needs extra off-recipe add-ins to feel complete. The goal is a dessert that tastes like itself: simple, clear, lightly sweet, and satisfying enough that a small portion feels worth it.
Ingredient Notes & Easy Swaps
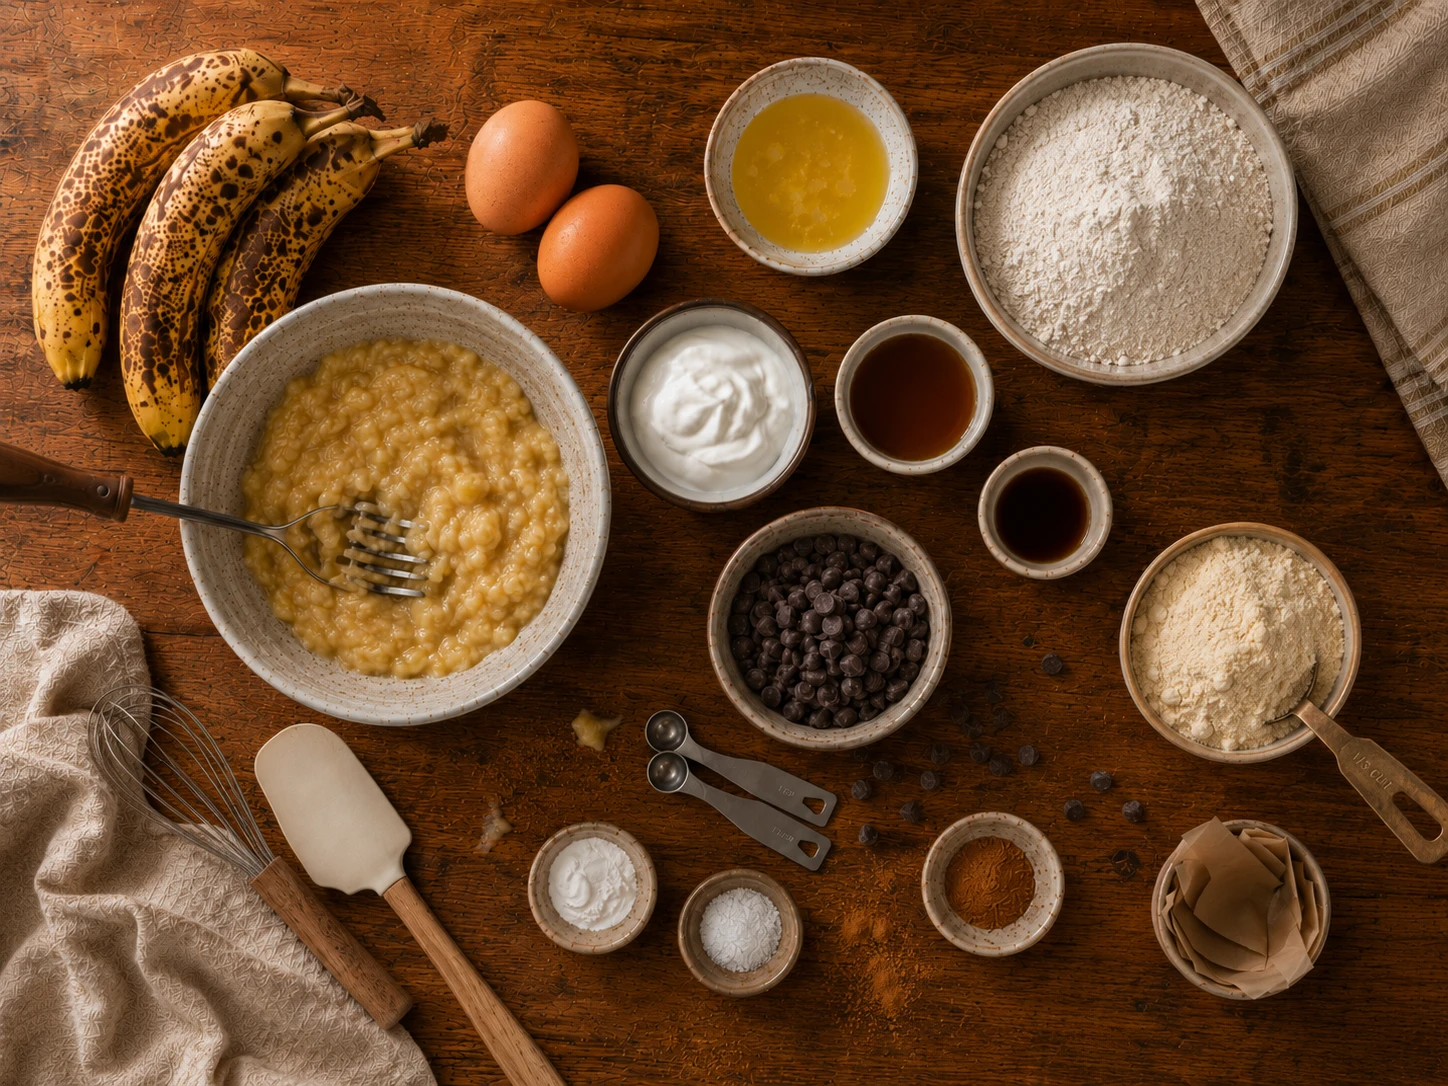
Very ripe bananas: Bananas with brown spots are best because they mash easily and add natural sweetness. Measure about 1 1/4 cups mashed banana for the right texture.
Eggs: Eggs help the mini loaves rise and hold together. Whisk them well with the wet ingredients before adding the dry ingredients.
Coconut oil: Melted coconut oil keeps the loaves moist. Let it cool slightly before mixing so it does not cook the eggs or clump in the batter.
Maple syrup: Maple syrup adds light sweetness and moisture. Honey can work too, but it gives a stronger flavor.
Greek yogurt: Greek yogurt keeps the loaves soft and adds a little protein. Plain regular yogurt can work, but the batter may be slightly thinner.
Oat flour: Oat flour makes the loaves tender and gluten-free when certified gluten-free oat flour is used. Homemade oat flour should be blended very fine.
Vanilla protein powder: Protein powder adds structure, but it can dry baked goods if too much is used. Use the listed amount and avoid packing it tightly.
Dark chocolate chips or walnuts: Chocolate chips make the loaves sweeter and more dessert-like, while walnuts add crunch and a banana bread feel.
Mini Protein Banana Bread Loaves
Description
Very ripe bananas, eggs, Greek yogurt, oat flour, vanilla protein, maple syrup, coconut oil, cinnamon, and chocolate chips or walnuts bake into mini banana bread loaves. They are soft, lightly sweet, freezer-friendly, and satisfying enough for breakfast or dessert. It stays simple, too. Easy enough for busy days.
Ingredients
- 3 very ripe bananas, mashed
- 2 large eggs
- 1/4 cup melted coconut oil
- 1/4 cup maple syrup
- 1/4 cup plain Greek yogurt
- 1 tsp vanilla extract
- 1 1/2 cups gluten-free oat flour
- 1/3 cup gluten-free vanilla protein powder
- 1 tsp baking soda
- 1/2 tsp salt
- 1 tsp cinnamon
- 1/3 cup dark chocolate chips or chopped walnuts
Instructions
- 1Place an oven rack in the middle position and preheat the oven to 350°F (175°C). Equipment: a 6-cavity mini loaf pan, parchment paper or nonstick spray, a large mixing bowl, a medium mixing bowl, a fork, a whisk, a rubber spatula, a large spoon, measuring cups, measuring spoons, a toothpick, oven mitts, and a wire cooling rack.
- 2Lightly grease the 6-cavity mini loaf pan, or line each cavity with parchment.
- 3Peel and mash the 3 very ripe bananas in the large bowl with the fork until smooth with just a few small lumps; you want about 1 1/4 cups of mash.
- 4Add the 2 eggs, 1/4 cup melted coconut oil, 1/4 cup maple syrup, 1/4 cup plain Greek yogurt, and 1 teaspoon vanilla extract to the mashed bananas. Make sure the melted coconut oil is liquid but not hot, or it can cook the eggs. Whisk for about 30 seconds, until the mixture looks pale and uniform.
- 5Sprinkle 1 1/2 cups gluten-free oat flour, 1/3 cup gluten-free vanilla protein powder, 1 teaspoon baking soda, 1/2 teaspoon salt, and 1 teaspoon cinnamon over the wet ingredients. Stir gently with the spatula just until no dry streaks remain; the batter will be thick.
- 6Fold in 1/3 cup dark chocolate chips or chopped walnuts, whichever you are using.
- 7Divide the batter evenly among the 6 mini loaf cavities, smoothing the tops with the back of a spoon. Each one should be about three-quarters full.
- 8Bake on the middle rack for 25 to 28 minutes. The loaves are done when the tops look golden, the edges pull slightly away from the pan, and a toothpick inserted into the center comes out clean or with a few moist crumbs.
- 9Using oven mitts, remove the pan from the oven and let the loaves cool in the pan for 10 minutes, then transfer them to the wire rack.
- 10Store sealed at room temperature for 2 days, in the refrigerator for up to 5 days, or wrap individually and freeze for up to 2 months.
Tips and Tricks
- 1
Use Very Ripe Bananas: The bananas should be heavily speckled or browned for the best flavor. Ripe bananas mash smoothly, sweeten the batter naturally, and help the mini loaves stay soft. That little step prevents avoidable texture problems and makes serving much easier later.
- 2
Fill Three-Quarters Full: Divide the batter so each mini loaf cavity is about 3/4 full. This gives the loaves room to rise without spilling over and helps them bake evenly. That small detail keeps the texture consistent and makes the recipe easier for beginners.
- 3
Check the Center: Mini loaves can look done on top while the middle still needs time. Test the center with a toothpick and look for clean crumbs, not wet batter. It also helps the finished dessert look neater and taste closer to the recipe's goal.
- 4
Cool Before Wrapping: Let the loaves cool completely before wrapping or freezing. Warm loaves release steam, and trapped steam can make the outside sticky instead of soft and bakery-like. This gives you a more reliable result, especially if you are making the recipe for the first time.
Nutrition
Per serving — Calories: 345kcal, Protein: 14g, Carbs: 38g, Fat: 17g, Fiber: 4g, Sugar: 16g, Sodium: 240mg.
Nutrition information is an estimate and may vary based on ingredient brands, product sizes, preparation methods, and substitutions. It is not intended as medical or dietary advice.