
Greek Yogurt Cheesecake Berry Cups
 By Better Plate Recipes
Have a recipe from another site? Import it →
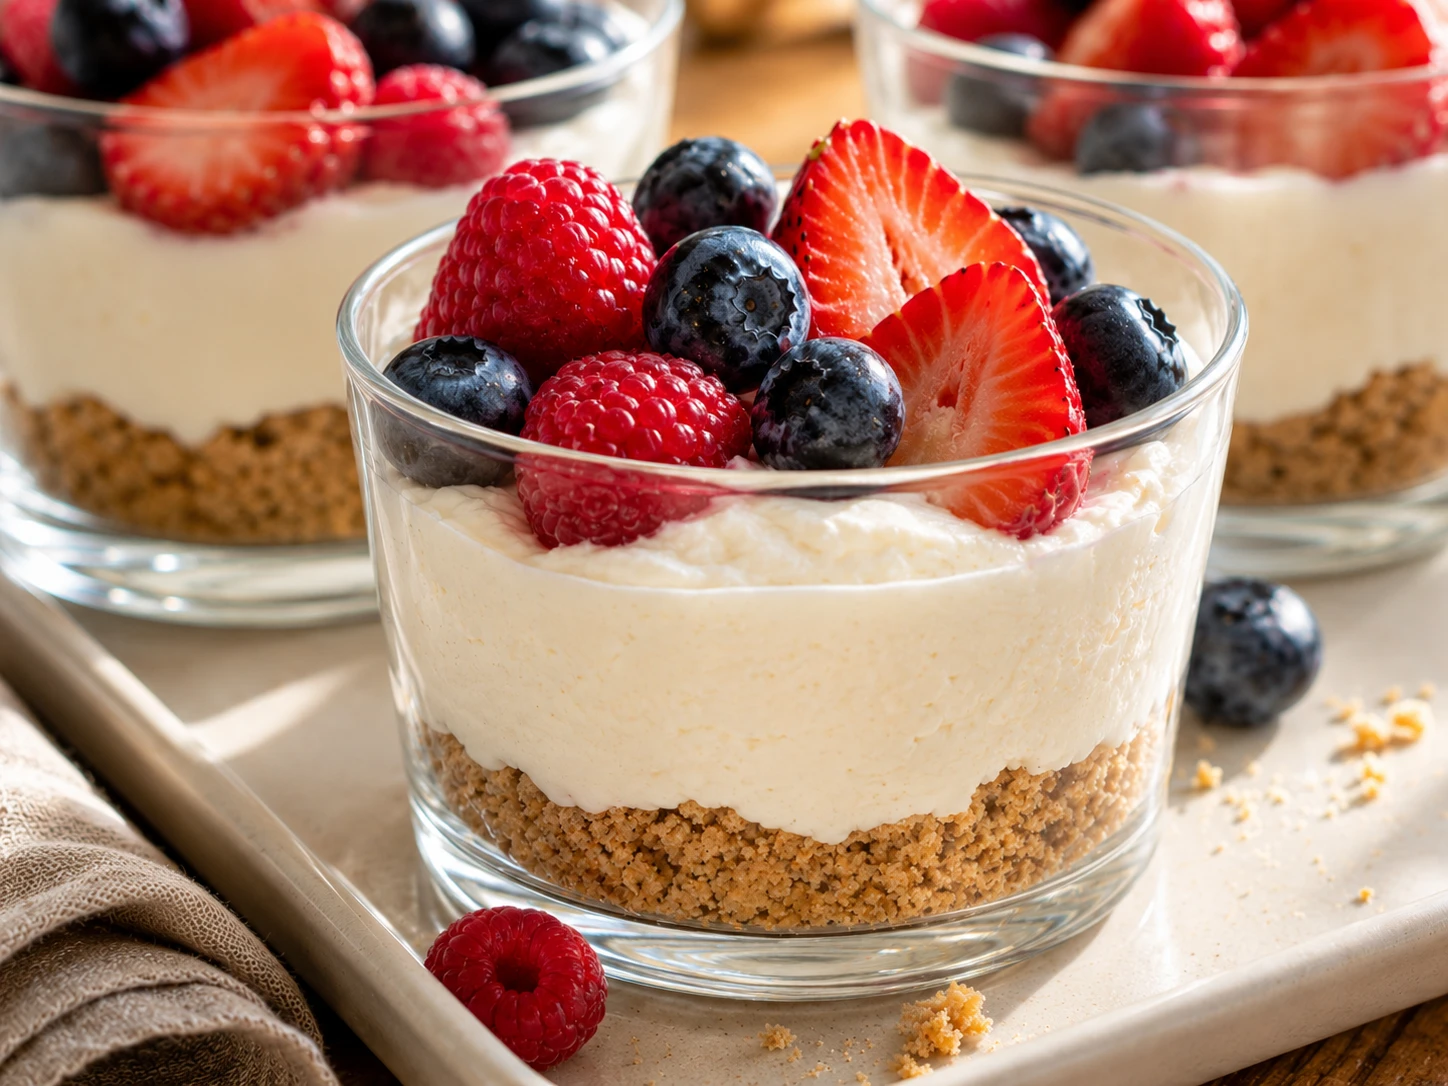
Greek yogurt, softened light cream cheese, honey, and vanilla whisk into a tangy cheesecake-style layer over buttery graham crumbs, then mixed berries finish the top. These no-bake cups are creamy, fruity, lightly sweet, and easy to build in small jars. Chill briefly if you want a thicker cheesecake-style texture.
Why You’ll Love This Recipe
You will love Greek Yogurt Cheesecake Berry Cups because it is approachable, satisfying, and built around real snack texture. In this recipe, Greek yogurt and cream cheese create a tangy cheesecake texture, graham crumbs add a buttery base, and berries keep the jars fresh. It fits naturally into a no-bake dessert snack, small jar treat, or make-ahead sweet bite, especially when you want something ready without guessing your way through the steps. The beginner cues are important because they show what done should look or feel like. The yogurt layer should be smooth and thick, with no visible cream cheese lumps before it goes over the crumbs. That keeps the recipe calm and repeatable. It also helps the snack hold up better, whether it is served right away, chilled, frozen, packed, or stored for later.
What Makes This Recipe Work
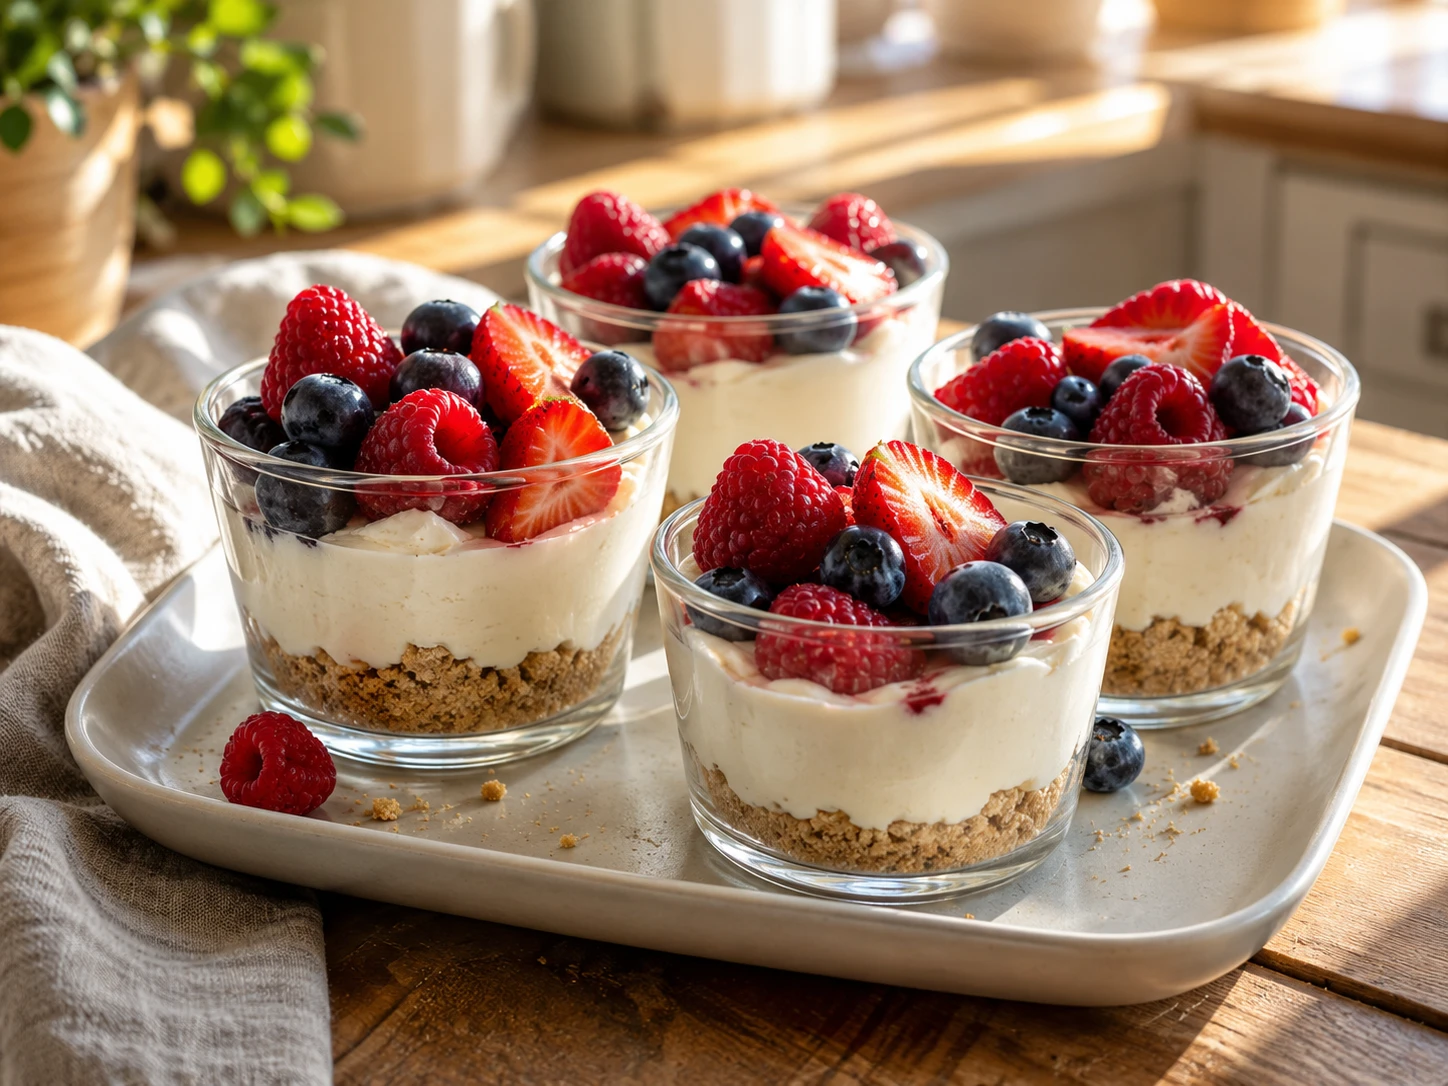
The strength of Greek Yogurt Cheesecake Berry Cups is its texture. In this recipe, Greek yogurt and cream cheese create a tangy cheesecake texture, graham crumbs add a buttery base, and berries keep the jars fresh. That matters because snacks can feel boring when everything is soft, dry, or one-note. Here, the contrast gives the recipe a real reason to exist beyond just being quick. The beginner cue is especially useful: The yogurt layer should be smooth and thick, with no visible cream cheese lumps before it goes over the crumbs. A new cook can follow that sign with their eyes, hands, or spoon instead of guessing. That is what makes the recipe easier to trust. It also keeps the result consistent, whether the snack is creamy, crunchy, frozen, chilled, or served right away.
Notes That Make It Easier
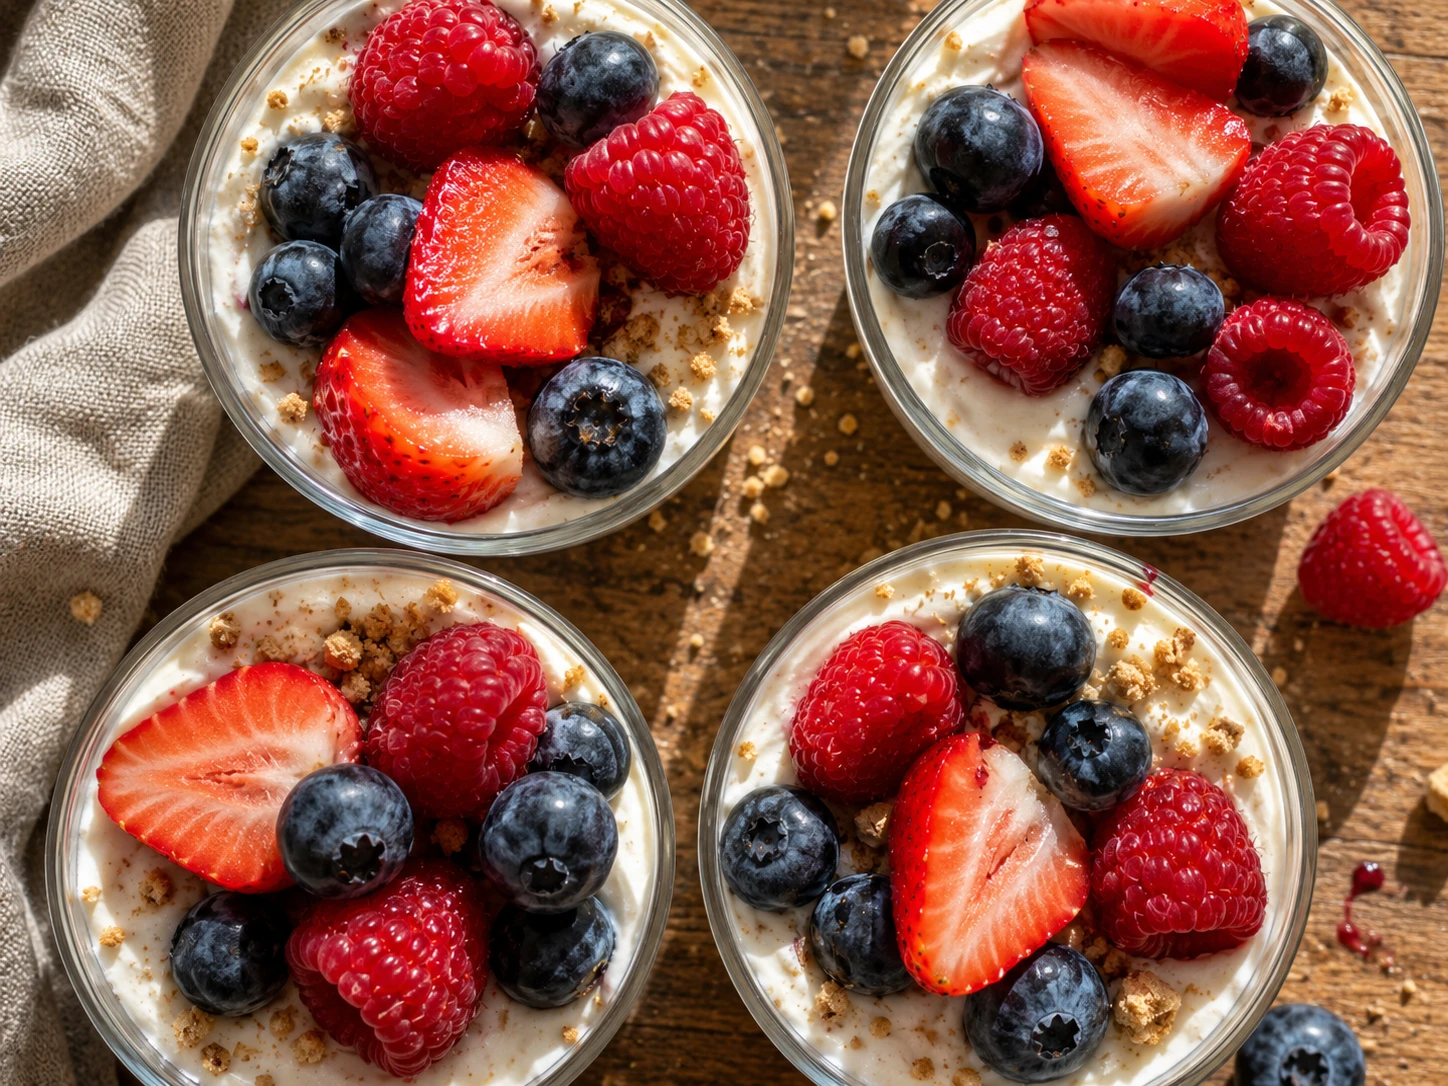
This recipe also works because the prep order protects the final texture. Soften the cream cheese, mix the crumbs until damp like sand, and layer each cup gently. Chill if you want a firmer cheesecake feel, but add berries fresh for the prettiest top. For snacks, that matters just as much as flavor. A dip that gets watery, a cucumber that softens, a rice cake that loses crunch, or a frozen bite that melts too fast can make a good idea feel disappointing. These instructions are written to prevent that. They explain when to chill, cool, dry, spread, fold, freeze, or serve so the recipe makes sense for a beginner. Once those small steps are clear, Greek Yogurt Cheesecake Berry Cups becomes much easier to repeat with the same reliable result.
Ingredient Notes & Easy Swaps
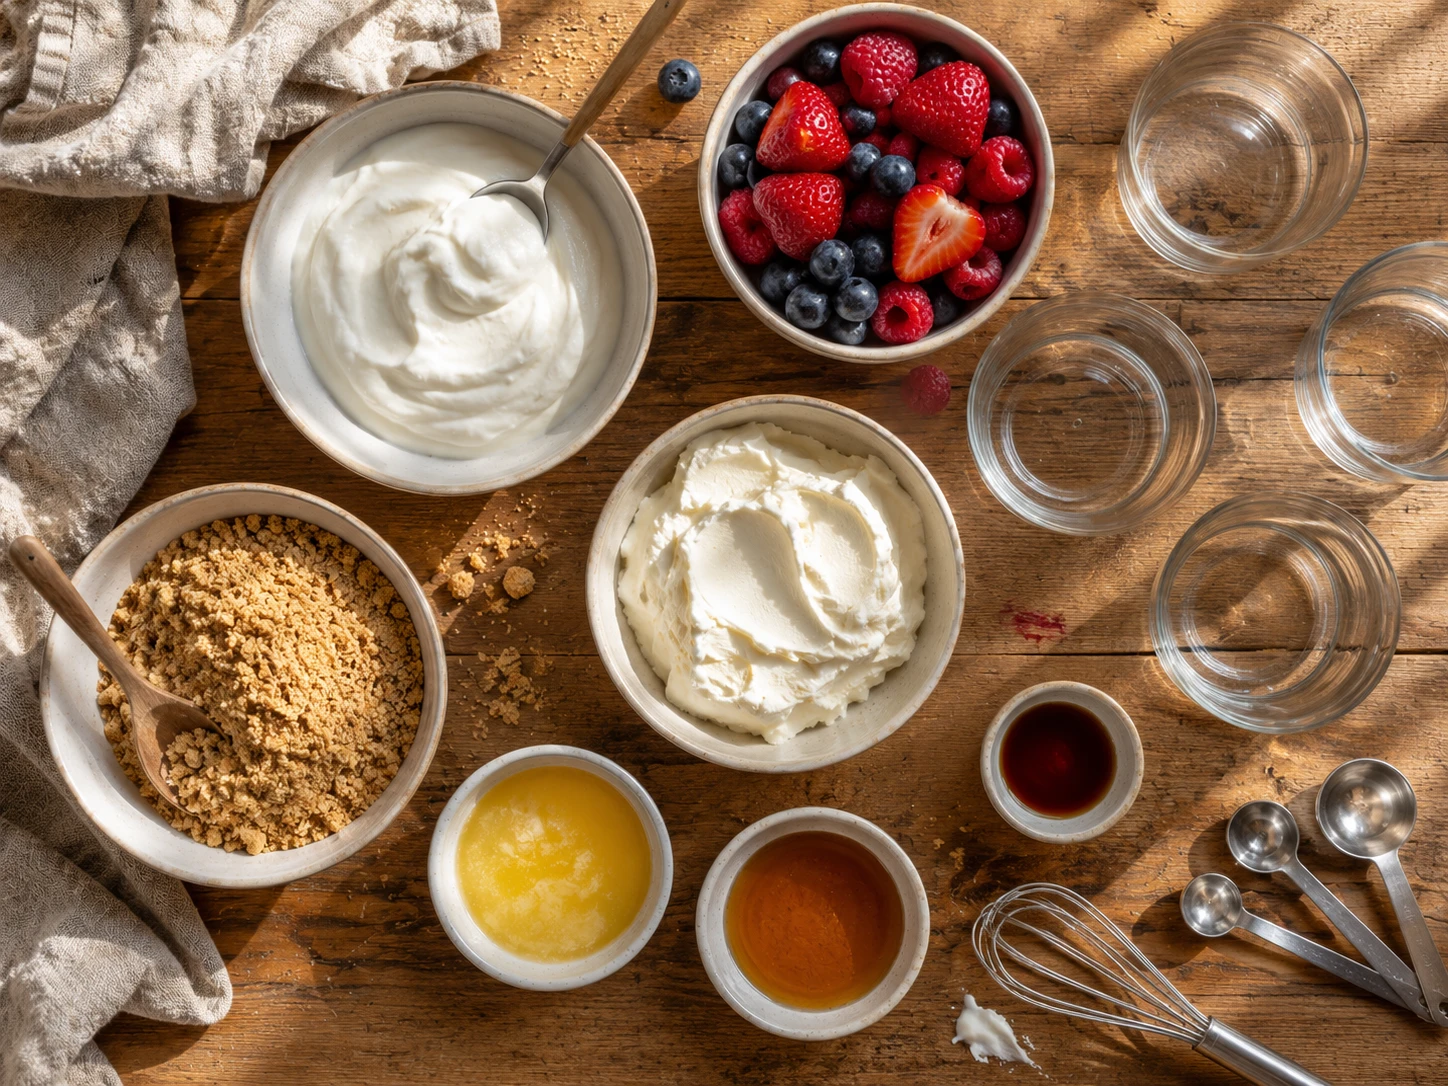
Plain Greek yogurt: Greek yogurt makes the cups thick, creamy, and higher in protein. Use plain yogurt, not vanilla or sweetened yogurt, so the sweetness stays balanced.
Light cream cheese: Softened cream cheese gives the yogurt layer a cheesecake-style flavor. Let it sit at room temperature for a few minutes so it blends smoothly without lumps.
Honey: Honey lightly sweetens the tangy yogurt and cream cheese. Maple syrup can work as a simple swap.
Vanilla extract: Vanilla helps the filling taste more like cheesecake. A little goes a long way, so measure it instead of pouring freely.
Graham cracker crumbs: The crumbs create a quick cheesecake-style base. Crushed whole-grain graham crackers or gluten-free graham-style crumbs can work if needed.
Melted butter: Butter helps the crumb layer taste richer and hold together slightly. Coconut oil can work, but it will add a light coconut flavor.
Mixed berries: Strawberries, blueberries, and raspberries add freshness and color. Pat washed berries dry so extra water does not thin the yogurt layer.
Chill option: These can be eaten right away, but chilling makes the filling thicker and more cheesecake-like.
Greek Yogurt Cheesecake Berry Cups
Description
Greek yogurt, softened light cream cheese, honey, and vanilla whisk into a tangy cheesecake-style layer over buttery graham crumbs, then mixed berries finish the top. These no-bake cups are creamy, fruity, lightly sweet, and easy to build in small jars. Chill briefly if you want a thicker cheesecake-style texture.
Ingredients
- 1 cup plain Greek yogurt
- 2 tbsp light cream cheese, softened
- 2 tbsp honey or maple syrup
- 1/2 tsp vanilla extract
- 1/2 cup graham cracker crumbs
- 1 tbsp melted butter
- 1 cup mixed berries (strawberries, blueberries, raspberries)
Instructions
- 1Equipment: small bowl, medium bowl, fork, spoon, measuring cups, measuring spoons, and 4 small cups.
- 2In a small bowl, stir 1/2 cup graham cracker crumbs and 1 tablespoon melted butter with a fork until the crumbs look evenly damp, like wet sand.
- 3If serving this to a child under 1 year old, use maple syrup instead of honey, or skip the sweetener. In a medium bowl, whisk 1 cup plain Greek yogurt, 2 tablespoons softened light cream cheese, 2 tablespoons honey or maple syrup, and 1/2 teaspoon vanilla extract for about 1 minute, until smooth, thick, and pale.
- 4Set out 4 small cups or jars. Spoon about 2 tablespoons graham crumbs into the bottom of each cup and press gently with the back of a spoon to make a flat layer.
- 5Spoon the yogurt cheesecake mixture evenly over the crumb layer in each cup, filling each about three-quarters full.
- 6Top each cup with about 1/4 cup mixed berries. Eat right away, or chill for 30 minutes for a firmer cheesecake-style texture.
Tips and Tricks
- 1
Soften Cream Cheese: Soft cream cheese blends into yogurt much more easily. If it is cold, small lumps can remain, and the cheesecake layer will not taste as smooth or creamy. That makes the final bite cleaner, fresher, and more balanced. It keeps the recipe simple without adding off-recipe ingredients.
- 2
Mix Crumbs Evenly: The graham crumbs should look damp all the way through before pressing. Dry crumbs scatter in that jar, while evenly buttered crumbs give a more cheesecake-like base. That helps the snack hold up better after chilling or serving. It is a practical detail that makes the result more reliable.
- 3
Press Gently: Do not pack the crumb layer too hard. A gentle press creates a base that holds together but still scoops easily with the yogurt and berries. That keeps the texture from turning soft before snack time. That keeps the texture closer to what the recipe promises.
- 4
Chill for a Firmer Texture: These cups can be eaten right away, but a 30-minute chill makes the yogurt layer thicker and more cheesecake-like. It also helps the crumb layer settle. It also helps the snack stay neat when served or packed. This small habit makes the step easier to repeat next time.
Nutrition
Per serving — Calories: 130kcal, Protein: 7g, Carbs: 14g, Fat: 6g, Fiber: 1g, Sugar: 13g, Sodium: 50mg.
Nutrition information is an estimate and may vary based on ingredient brands, product sizes, preparation methods, and substitutions. It is not intended as medical or dietary advice.